If you want smooth, flawless finishes on your projects, knowing how to change sandpaper on your orbital sander is a must. It might seem tricky at first, but once you get the hang of it, you’ll save time and get better results every time.
In this guide, you’ll learn simple, step-by-step instructions to switch out your sandpaper quickly and easily. Keep reading—you’ll be sanding like a pro before you know it!
Credit: www.redlabelabrasives.com
Choosing The Right Sandpaper
Choosing the right sandpaper for your orbital sander is key to getting good results. The right sandpaper makes sanding faster and smoother. It also protects your project from damage. Knowing what grit and material to pick helps you work better.
Types Of Grits
Grit means how rough the sandpaper is. Coarse grits remove a lot of material fast. Medium grits smooth the surface after rough sanding. Fine grits give a polished finish. Use coarse grit first, then move to finer grits for best results.
Material Compatibility
Different materials need different sandpapers. Wood sands well with aluminum oxide grit. Metal requires silicon carbide grit for better cutting. Soft materials like plastic need fine grit to avoid scratches. Match the sandpaper to your material for clean, even sanding.
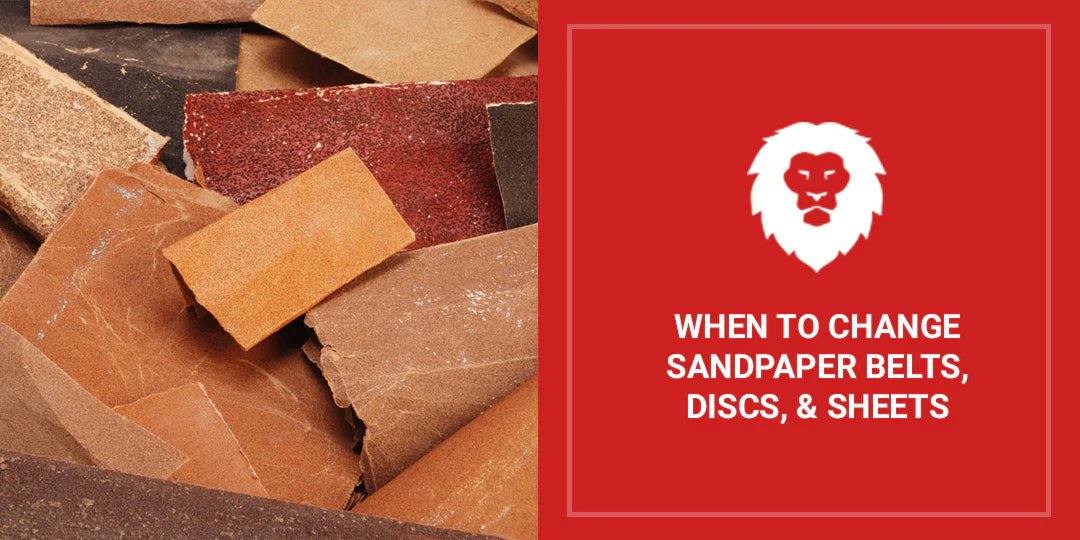
Credit: prettyhandygirl.com
Preparing The Orbital Sander
Preparing your orbital sander before changing the sandpaper is important. It helps keep you safe and makes the job easier. Taking a few simple steps can protect you and your tool.
Readying the sander means checking its condition and making sure it is ready for work. This small preparation saves time and prevents accidents.
Safety Precautions
Wear safety glasses to protect your eyes from dust and debris. Use a dust mask to avoid breathing in fine particles. Gloves can protect your hands from rough surfaces. Always work in a well-ventilated area to reduce dust buildup. Keep your workspace clean and free of obstacles.
Power Off And Unplug
Always turn off the sander before changing the sandpaper. Unplug the sander from the power source to avoid accidental starts. Confirm the sander is fully powered down before touching any parts. This step prevents electric shocks and injuries. Never skip this important safety rule.
Removing Old Sandpaper
Removing old sandpaper from an orbital sander is the first step to keep your tool working well. It helps you get a smooth finish on your projects. This process is quick and simple if you follow the right steps.
Old sandpaper can clog the sanding pad and reduce its effectiveness. Taking it off carefully prevents damage to the sander. Clean the sanding pad before attaching new sandpaper for best results.
Releasing The Clamp Or Hook-and-loop
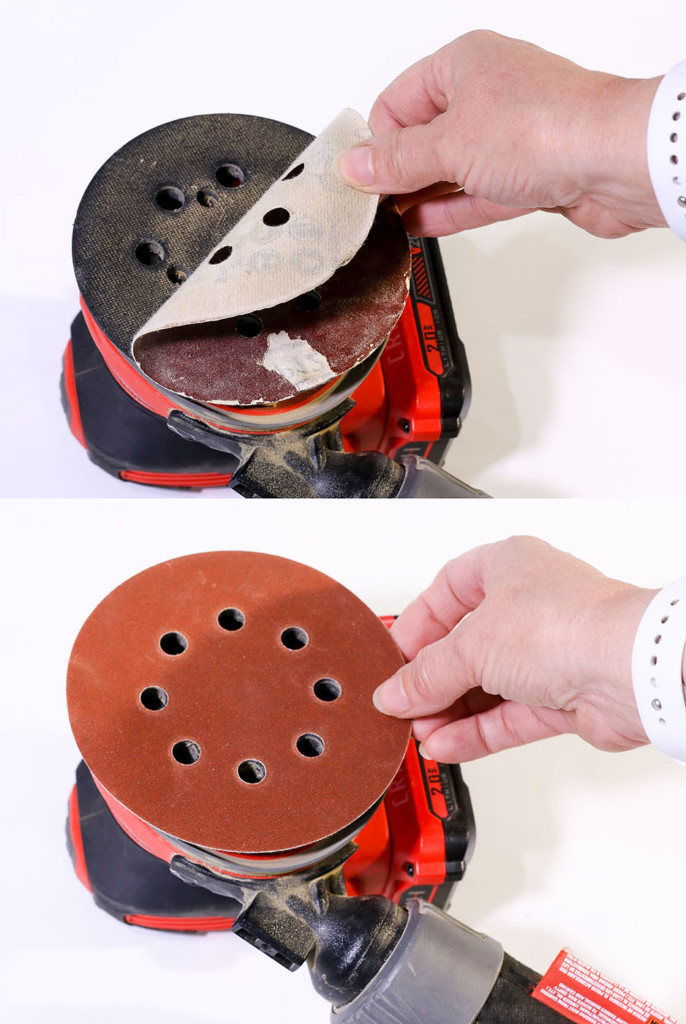
Check how your sander holds the sandpaper. Some use clamps, others use hook-and-loop (Velcro). For clamp systems, press or lift the clamp to release the sandpaper. Gently pull the old sandpaper off the pad. For hook-and-loop, simply peel the sandpaper away from the pad. Avoid tearing it to keep the pad clean.
Cleaning The Sanding Pad
After removing the old sandpaper, look at the sanding pad. Dust and debris may stick to it. Use a soft brush or cloth to wipe off any residue. Clean pads hold new sandpaper better and last longer. Avoid using water or harsh chemicals on the pad. Let it dry completely if it feels damp before attaching new sandpaper.
Attaching New Sandpaper
Attaching new sandpaper to an orbital sander is a simple step. It helps the sander work well and last longer. Doing it right saves time and keeps your work smooth. Follow these steps to attach the sandpaper correctly and securely.
Aligning The Sandpaper
Place the new sandpaper on a flat surface. Match the holes on the sandpaper with those on the sander’s pad. This helps dust to escape during sanding. Make sure the edges of the sandpaper line up with the pad edges. Check twice before pressing it down. Proper alignment ensures even sanding and better results.
Securing The Edges
Press the sandpaper firmly onto the pad. Start from the center and move outward to avoid wrinkles. Some sanders use hook-and-loop fasteners; others use clamps or adhesive. If your sander has clamps, close them tightly. For hook-and-loop, press the sandpaper until it sticks well. Secure edges prevent the paper from slipping during use.
Testing The Setup
Testing the setup is important after changing sandpaper on an orbital sander. It ensures the paper sticks well and the tool works safely. This step prevents damage to the surface or the sander itself. Checking the setup saves time and effort during your project.
Power On And Check Adhesion
Plug in the sander and turn it on briefly. Hold it firmly but lightly. Watch if the sandpaper stays in place during movement. If the paper moves or slips, the adhesion is weak. Turn off the sander immediately to avoid uneven sanding or damage.
Adjusting If Necessary
Remove the sandpaper if it slips or shifts. Clean the sanding pad to remove dust or debris. Reattach the sandpaper carefully, pressing it firmly. Test the adhesion again by turning the sander on briefly. Repeat until the sandpaper stays secure during operation.

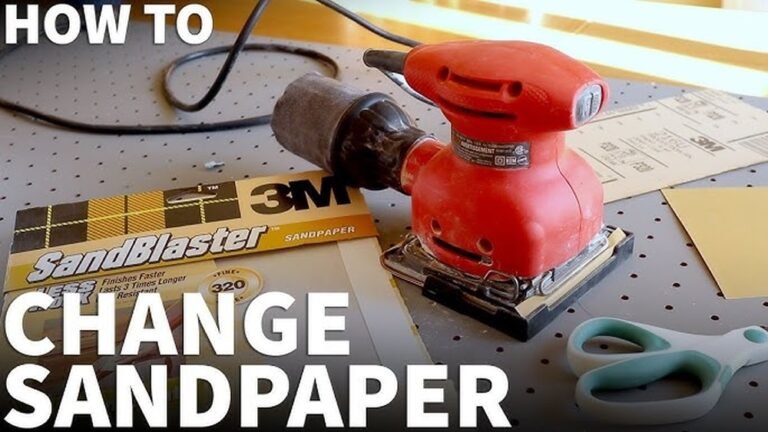
Credit: www.youtube.com
Tips For Longer Sandpaper Life
Extending the life of your sandpaper saves money and effort. Simple habits protect the abrasive surface from damage and clogging. Follow these easy tips to get the best use from each sheet.
Proper Storage
Store sandpaper flat and dry to avoid warping. Keep it away from moisture and dust. Use a sealed plastic bag or container. Do not fold or bend the sheets. Storing sandpaper properly keeps the grit sharp and ready.
Avoiding Excess Pressure
Pressing too hard wears out sandpaper quickly. Let the orbital sander do the work. Hold the tool lightly but firmly. Excess pressure clogs and tears the abrasive surface. Gentle sanding extends sandpaper life and improves results.
Frequently Asked Questions
How Do You Remove Old Sandpaper From An Orbital Sander?
To remove old sandpaper, unplug the sander first. Then, peel off the worn sandpaper from the hook-and-loop pad carefully. Dispose of it properly before attaching new sandpaper.
What Type Of Sandpaper Fits An Orbital Sander?
Orbital sanders use round or square hook-and-loop sandpaper discs. Choose the right grit based on your sanding project for best results.
How Do You Attach New Sandpaper To An Orbital Sander?
Align the new sandpaper disc’s holes with the sander’s pad. Press firmly to secure the hook-and-loop backing. Ensure it’s flat and tight for smooth sanding.
How Often Should You Change Sandpaper On An Orbital Sander?
Change sandpaper when it clogs, tears, or loses abrasiveness. Frequent replacement ensures efficient sanding and avoids damage to surfaces.
Conclusion
Changing sandpaper on an orbital sander is quick and simple. Follow the steps carefully for a secure fit every time. Using the right sandpaper helps your tool work better and last longer. Keep your workspace clean and safe while working.
Regularly checking and replacing sandpaper saves time and effort. Practice these tips to improve your sanding projects. You’ll get smooth results with less hassle. Keep sanding smart and enjoy your work.

Michael Harris is an experienced woodworker and power tool expert with over 12 years in woodworking. Specializing in functional, high-quality furniture, he offers expert advice on tool selection, maintenance, and sharpening for both beginners and professionals.