
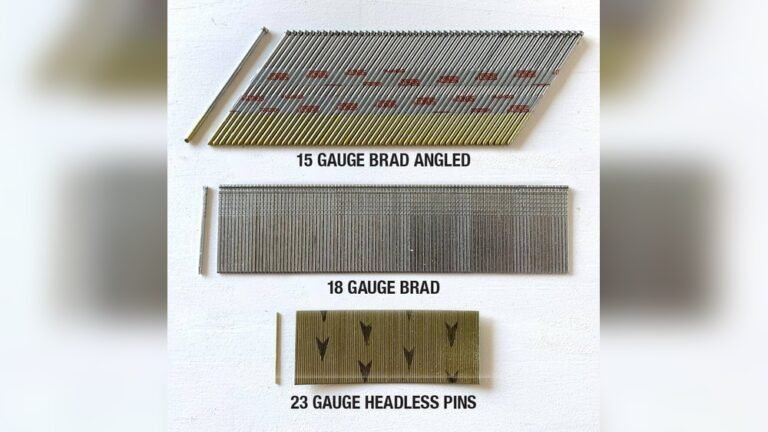

Are you ready to tackle your next woodworking project but unsure about the right nail size for your brad nailer? Choosing the correct nail size might seem simple, but picking the wrong one can lead to weak joints or even damage your materials.
You want your work to look clean, hold strong, and save you time and frustration. You’ll discover exactly which nail sizes work best for different tasks and how to make the most out of your brad nailer every time. Keep reading to ensure your next project is a smooth success.

Credit: bendtoolco.com
Brad Nailer Basics
A brad nailer is a handy tool for light woodworking and trim work. It shoots small nails called brads that hold pieces of wood together without splitting them. Knowing the basics helps you choose the right nail size and use the tool safely.
Brad nailers are easy to use and save time on projects. They work best with thin wood and delicate trims. Understanding the parts and nails helps get the best results.
Types Of Brad Nails
Brad nails come in different lengths. Common sizes range from 5/8 inch to 2 inches. The length you choose depends on the thickness of the wood. Short nails work well for thin trims. Longer nails hold thicker pieces firmly.
Brad nails have small heads that leave tiny holes. These holes are easy to fill and hide. Nails also vary in gauge, usually 18 gauge. This size is thin enough to prevent wood splitting but strong enough to hold pieces together.
Brad Nailer Components
A brad nailer has a few key parts. The magazine holds the nails and feeds them into the tool. The trigger controls when the nail fires. The nose guides the nail into the wood.
Some models have adjustable depth control. This feature lets you set how far the nail goes in. It helps avoid damage to delicate wood. There is also an air inlet for pneumatic models or a battery for cordless ones.
Choosing The Right Nail Size
Choosing the right nail size for your brad nailer is key to getting strong and neat results. The size affects how well the nail holds materials together. It also impacts the look of your project. Picking the right size avoids damage and ensures your work lasts longer.
Length Options
Brad nails come in different lengths. Common sizes range from 5/8 inch to 2 inches. Shorter nails work well for thin materials like trim or molding. Longer nails are needed for thicker wood or layered pieces. Match the nail length to the thickness of your material. The nail should go deep enough to hold firmly without poking through.
Diameter Variations
The thickness of brad nails varies too. Thinner nails leave smaller holes and are less likely to split wood. Thicker nails offer stronger holding power for heavy pieces. Choose a diameter that fits your project’s strength needs. Use thinner nails for delicate work and thicker nails for sturdier joints.
Material And Finish
Nails come in different materials and finishes. Steel nails are common and strong. Some nails have coatings to resist rust. Rust-resistant nails work best for outdoor or damp areas. Choose nails that match your project’s environment. This prevents corrosion and keeps your work looking good.
Factors Influencing Nail Size
Choosing the right nail size for a brad nailer is important for a strong and clean finish. Several factors affect which nail length fits best. Knowing these helps prevent damage and ensures your project looks great.
Wood Thickness
The thickness of the wood guides nail size choice. Thicker wood needs longer nails for a secure hold. Thin wood requires shorter nails to avoid splitting. Measure your wood before picking nails.
Project Type
The kind of project shapes nail size needs. Small trim or delicate pieces use shorter nails. Larger or structural projects need longer nails. Match nail size to the task for best results.
Holding Strength
Nail length affects how well pieces hold together. Longer nails offer stronger grip and prevent loosening. Short nails work for light, decorative work. Think about how much strength your project demands.
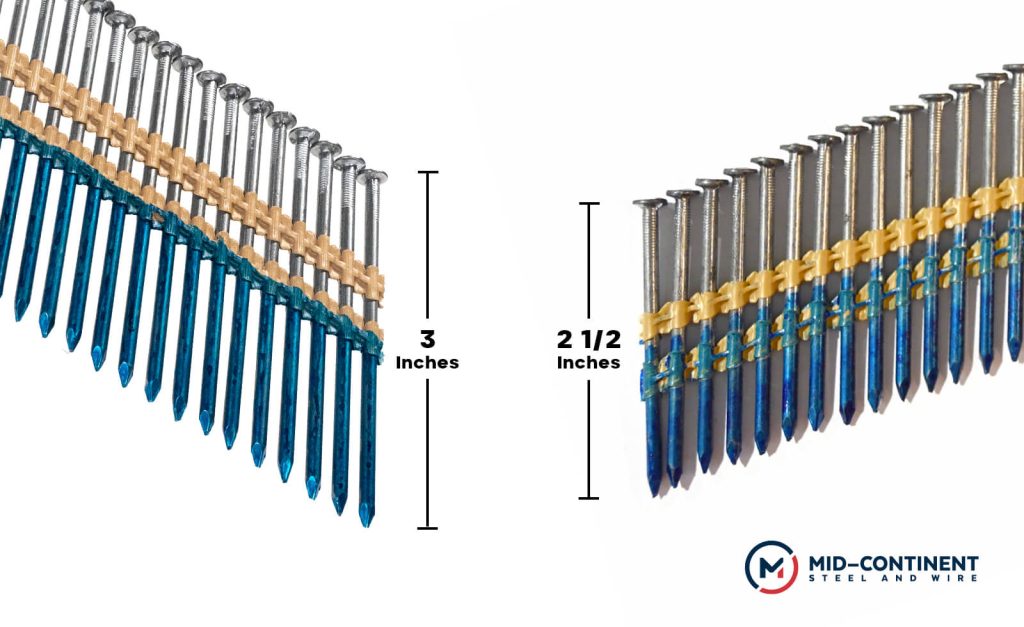
Credit: mcswusa.com
Common Nail Sizes For Brad Nailers
Choosing the right nail size is key for your brad nailer projects. Nails that are too long can split the wood. Nails that are too short may not hold well. Knowing common sizes helps you pick the best nail for your task. This ensures strong, clean results every time.
Standard Sizes
Brad nailers usually use nails from 5/8 inch to 2 inches long. The most common sizes are 5/8 inch, 3/4 inch, 1 inch, 1 1/4 inch, and 1 1/2 inch. Nail thickness is usually 18 gauge. This size is thin enough to avoid splitting wood.
Shorter nails like 5/8 inch and 3/4 inch are great for delicate trim. Longer nails such as 1 1/4 inch and 1 1/2 inch work well for thicker wood. The choice depends on the wood thickness and the type of project.
When To Use Each Size
Use 5/8 inch nails for thin moldings and small craft projects. These nails hold well without damaging delicate materials. 3/4 inch nails fit medium trim and light wood pieces. They provide a good balance of strength and care.
1 inch nails suit baseboards and window casings. They offer extra grip for sturdier wood. For thick wood or heavy trim, 1 1/4 inch or 1 1/2 inch nails work best. These sizes penetrate deep to secure the pieces firmly.
Tips For Using Brad Nails
Using brad nails properly makes your project stronger and cleaner. Small details matter in nailing. These tips help you avoid common problems and work safely.
Follow these simple steps to get the best results from your brad nailer.
Avoiding Splitting
Splitting wood ruins your work. Choose the right nail length for your material. Use thinner nails for thin or delicate wood. Pre-drill holes if wood is very hard. Nail near the edges carefully to stop cracks. Press the nailer firmly but gently to avoid pushing too hard.
Proper Nail Placement
Place nails where they hold best. Avoid nailing too close to edges or corners. Space nails evenly for strong joints. Aim nails straight, not at an angle. Keep nails shallow enough to hide but deep enough to hold. Use the right nail size for the thickness of the wood.
Safety Precautions
Always wear safety glasses to protect your eyes. Keep fingers away from the nail path. Use ear protection if the tool is loud. Check the nailer before use for damage or jams. Work in a clean, well-lit area. Disconnect the nailer when loading nails or fixing problems.
Troubleshooting Nail Issues
Troubleshooting nail issues in a brad nailer helps keep your projects smooth. Small problems can stop work and cause frustration. Understanding common issues saves time and effort. Below are common problems and easy fixes to keep your brad nailer running well.
Jamming Problems
Nail jams often happen when nails are too long or thick. Using the right nail size reduces jams. Dirt and dust inside the nailer can cause blockages. Clean the nailer regularly to avoid jams. Check the nail strip is loaded correctly. Push nails in firmly to prevent misfeeds. Release the jam carefully to avoid damage.
Nail Bending
Nail bending occurs when the nail is too long or the wood is hard. Use shorter nails for dense materials. Hold the nailer steady and straight during use. Avoid pushing too hard on the trigger. Bent nails waste materials and slow work. Remove bent nails to stop further problems.
Nail Misfires
Misfires happen when the nail does not fire or partially fires. This usually means nails are the wrong size or the nailer is dirty. Use nails that fit the brad nailer’s specifications. Check air pressure if your nailer is pneumatic. Clean and oil the tool often. Replace worn parts to keep firing smooth.
Maintenance For Brad Nailers
Maintaining your brad nailer helps keep it working well and lasting longer. Regular care prevents jams and ensures smooth nailing. Simple steps can save you time and money on repairs.
Cleaning The Tool
Remove dust and debris from the nailer after each use. Use a soft brush or compressed air to clean tight spots. Wipe the exterior with a dry cloth to prevent rust. Clean the magazine and driver blade often for better performance.
Storing Nails Properly
Keep brad nails in a dry, cool place to avoid rust. Store them in their original box or a sealed container. Avoid mixing different nail sizes to prevent jams. Proper storage makes it easy to find nails when needed.
Regular Inspections
Check the nailer for loose screws and parts regularly. Look for worn or damaged components and replace them quickly. Test the tool before use to ensure it fires nails correctly. Regular checks help prevent accidents and tool failure.
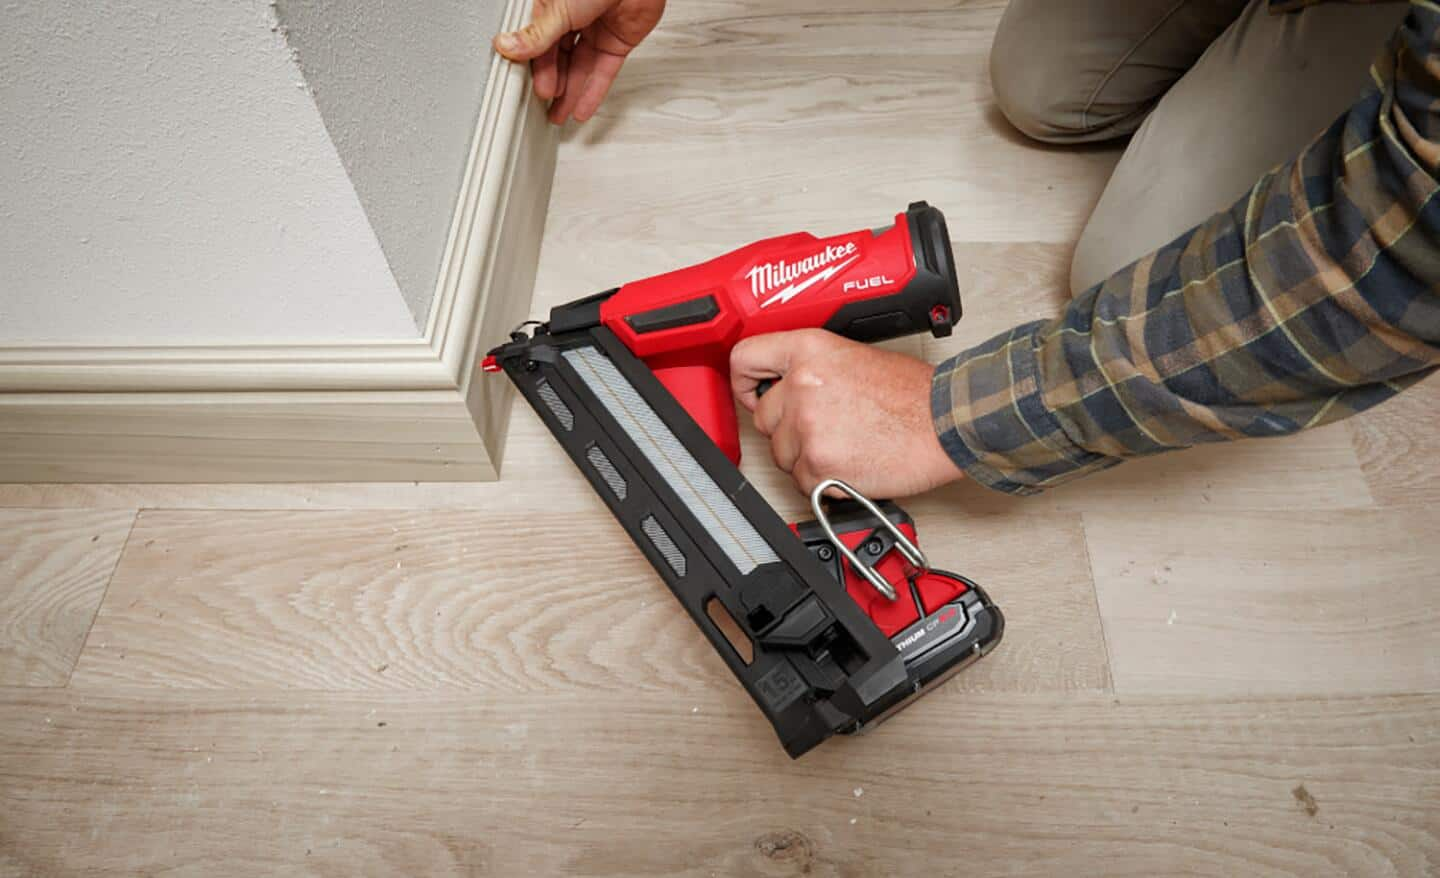
Credit: www.homedepot.com
Frequently Asked Questions
What Nail Size Works Best For Brad Nailers?
Brad nailers typically use nails ranging from 5/8 inch to 2 inches. Choose nail size based on your project’s thickness and material. Smaller nails suit delicate trims, while longer nails work for thicker wood or heavier materials.
Can I Use Longer Nails In A Brad Nailer?
Yes, brad nailers accept nails up to 2 inches long. Ensure the nail length matches your material thickness. Using longer nails provides stronger holding power but can split thin or delicate wood.
Are 18-gauge Nails Standard For Brad Nailers?
Yes, 18-gauge nails are the standard size for brad nailers. They are thin enough to reduce wood splitting while providing adequate holding strength for trims and moldings. Avoid using thicker nails that require different nailers.
How To Choose The Right Nail Length For Projects?
Measure your material’s thickness and add 1/4 inch for proper nail penetration. This ensures nails hold firmly without damaging the wood. Always match nail length to both project type and material thickness.
Conclusion
Choosing the right nail size helps your project hold strong and look neat. Shorter nails work well for thin materials to avoid splitting wood. Longer nails give more grip for thick pieces. Always match nail length to your material’s thickness.
Using the correct nails saves time and effort. It also keeps your work safe and tidy. Keep these tips in mind for better results. Nail size matters more than you might think. Simple choices make your projects last longer and look better.

Ms.Sultana
Affiliate Marketer | SEO Specialist | Blogger at Elite Global Marketing Agency
Ms.Sultana brings over 16 years of expertise working with global Clients by providing different skills and Services. For the last 5 years working as an Affiliate marketer, specializing in high-ticket campaigns that drive exponential growth. She holds a degree in Computer Science and Engineering as well as achieved many more skills certificates from different institute/academies/Platform. As part of the Elite Global Marketing team, Sultana has helped clients generate millions in revenue through strategic partnerships, innovative funnels, and data-driven insights. She’s passionate about empowering businesses to scale by connecting them with the right affiliate opportunities.
Explore our resources or connect with us on LinkedIn to stay ahead in affiliate marketing.