If you use a framing nailer regularly, you know how quickly dirt and debris can build up inside it. This not only slows down your work but can also cause jams and damage over time.
Cleaning your framing nailer might sound like a hassle, but with the right steps, it’s easier than you think. You’ll discover simple ways to keep your tool running smoothly and extend its life. Keep reading, and you’ll learn how to save time, avoid costly repairs, and get the best performance from your framing nailer every time you use it.
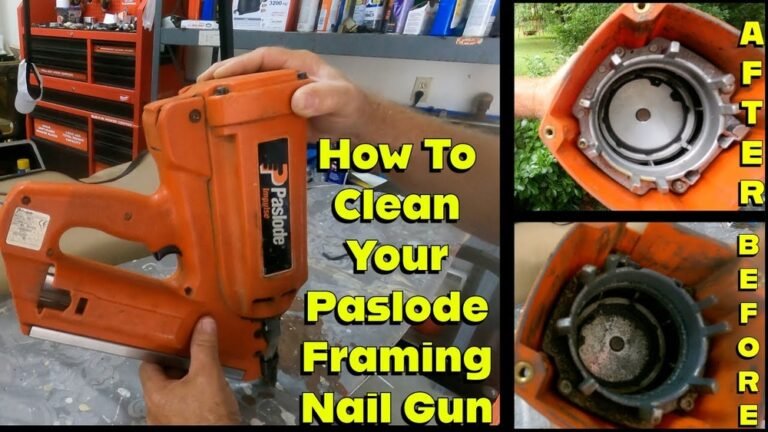
Credit: www.paslode.com
Tools And Supplies Needed
Cleaning a framing nailer requires specific tools and supplies. Having the right items makes the job easier and safer. Prepare all materials before starting to save time.
Essential Cleaning Materials
Gather a soft cloth to wipe dirt and dust. Use a small brush to clean tight spaces. A can of compressed air helps blow out debris. Get a lubricant designed for nailers. Have a screwdriver ready to open parts. Keep a container for small screws or pieces.
Safety Gear
Wear safety glasses to protect your eyes. Use gloves to keep your hands clean. Choose gloves that allow good grip and movement. Work in a well-ventilated area to avoid fumes. Keep a first-aid kit nearby just in case.
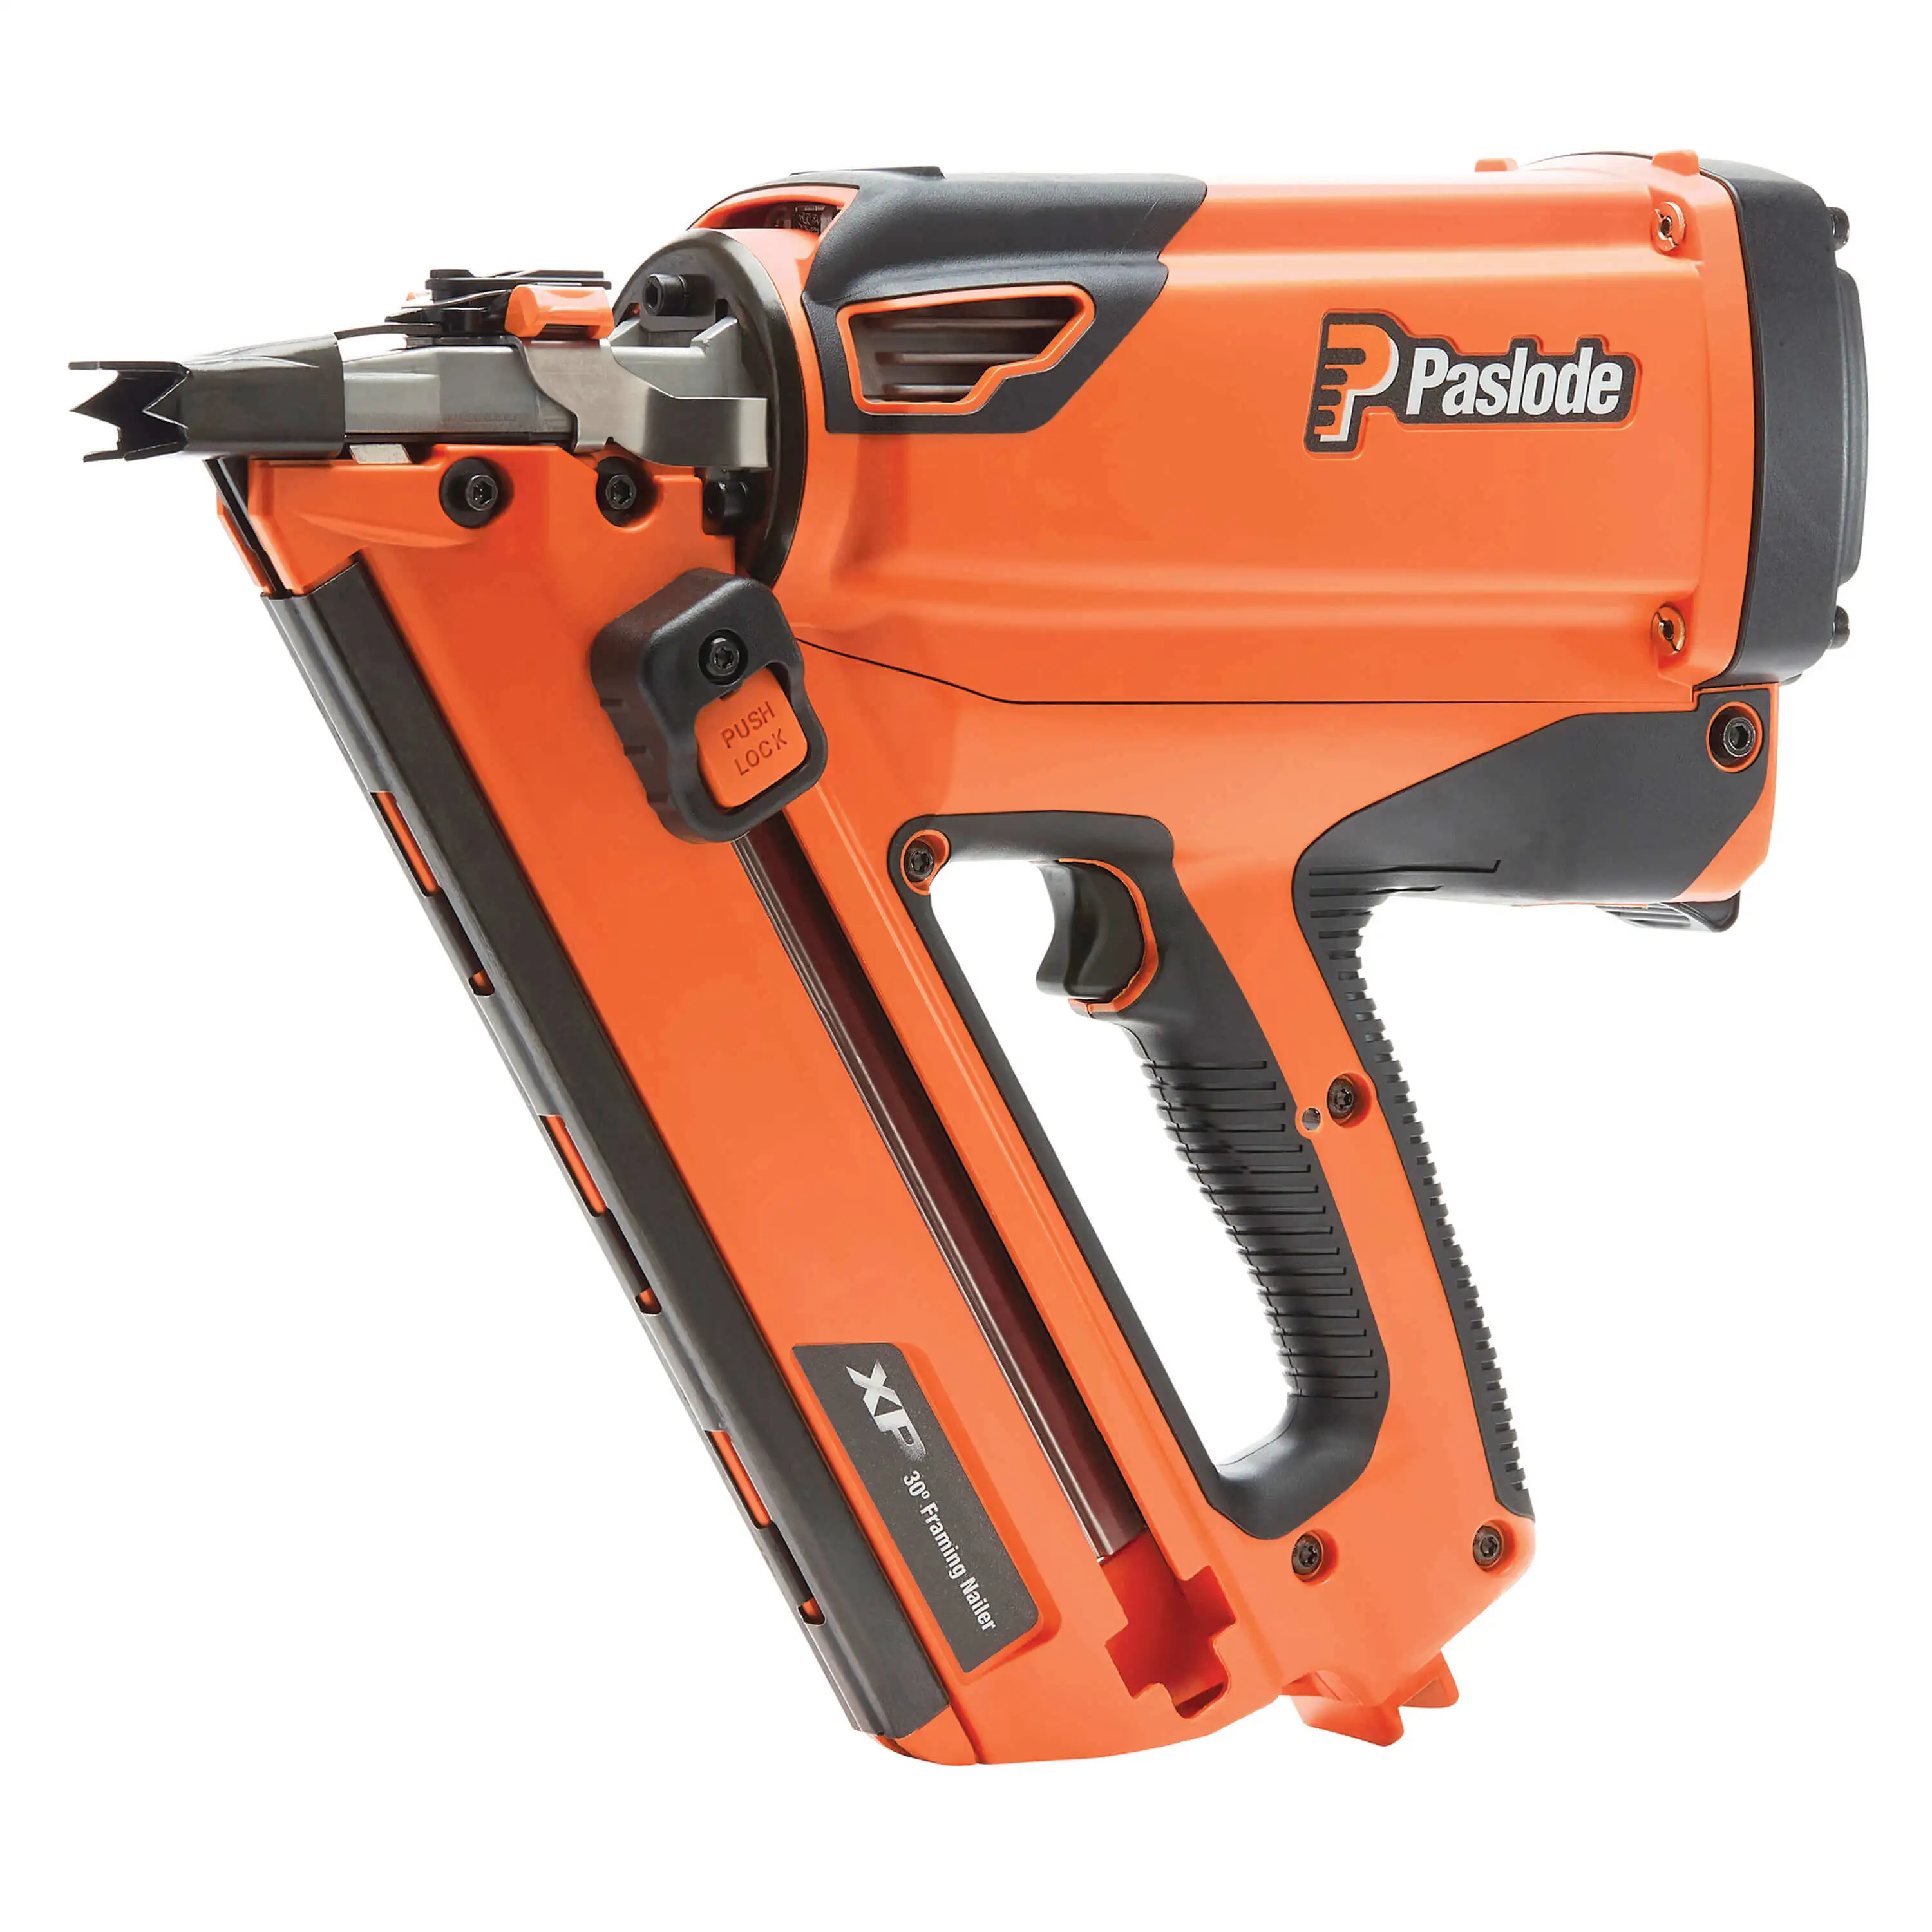
Credit: grupothermotek.com
Preparing The Nailer For Cleaning
Preparing your framing nailer for cleaning is an important first step. It keeps you safe and protects the tool. Taking time to prepare helps avoid damage during cleaning. Follow these simple steps to get your nailer ready.
Disconnecting The Air Supply
Always disconnect the air supply before cleaning. This stops air from flowing into the nailer. Unplug the hose from the nailer carefully. Check that no air leaks from the connection. This step prevents accidents and injury.
Removing Nails And Attachments
Take out all nails from the nailer magazine. This avoids nails falling out or jamming. Remove any extra attachments or accessories. Clear the nailer completely to reach all parts. This makes cleaning easier and safer.
Cleaning The Exterior
Cleaning the exterior of your framing nailer helps keep it in good shape. Dirt, dust, and wood chips can build up on the surface. This can cause the tool to work poorly or even break down over time. Regular cleaning prevents these problems and makes your nailer last longer.
Wiping Down The Surface
Start by unplugging or removing the power source from the nailer. Use a soft cloth slightly dampened with water or mild soap. Gently wipe the entire surface of the nailer to remove dust and dirt. Avoid using too much water to stop moisture from getting inside the tool. Dry the surface with a clean cloth after wiping.
Removing Debris From Crevices
Debris can hide in the small crevices of the nailer. Use a small brush or an old toothbrush to clean these hard-to-reach spots. Gently scrub to remove stuck wood chips and dirt. You can also use compressed air to blow out dust from tight areas. Keeping these crevices clean helps the nailer work smoothly.
Cleaning The Interior Components
Cleaning the interior components of your framing nailer is key to keeping it working well. Dust, dirt, and old oil build up inside and can cause problems. Regular cleaning stops jams and extends the tool’s life. This guide shows how to clean inside parts carefully and safely.
Disassembling The Nailer
Start by unplugging or disconnecting the nailer from power or air. Remove the magazine and nails. Use the right screwdriver to open the casing. Keep screws safe and remember their places. Take off the cover slowly to avoid breaking parts. Handle all pieces gently. Avoid forcing anything out.
Cleaning The Driver Blade And Piston
Check the driver blade and piston for dirt and residue. Use a soft cloth or brush to clean them. Avoid harsh chemicals that can damage metal parts. Lightly wipe away dust and stuck particles. Make sure no debris blocks the movement. Clean these parts often for smooth nailing.
Lubricating Moving Parts
Apply a few drops of nailer oil to all moving parts. This includes the driver blade, piston, and trigger mechanism. Use oil made for pneumatic tools only. Too much oil can attract dirt, so use it sparingly. Lubrication reduces friction and prevents rust. Work the parts gently after oiling to spread it evenly.
Reassembling And Testing
After cleaning your framing nailer, reassembling and testing are crucial steps. This ensures your tool works safely and properly. Taking care during reassembly avoids damage and keeps parts aligned.
Testing the nailer confirms it fires nails correctly. It helps catch any problems before using it on a project. Let’s break down these steps.
Putting The Nailer Back Together
Start by placing the main parts back in order. Follow the reverse of how you took it apart. Attach the magazine, trigger, and safety parts carefully.
Check for any loose screws or missing parts as you work. Tighten all screws but do not overtighten. This keeps the nailer sturdy and functional.
Make sure the piston and driver blade move freely. Avoid forcing any parts into place. Smooth movement means the nailer will work well.
Performing A Function Test
Connect the nailer to its air supply or power source. Do this in a safe area, away from people and fragile items. Put on safety glasses before testing.
Fire a few nails into scrap wood. Listen for unusual sounds or slow firing. Check that nails go in straight and fully.
If the nailer jams or misfires, stop and check assembly again. Repeat testing until the nailer works smoothly. Proper testing ensures safety and performance on the job.
Routine Maintenance Tips
Keeping your framing nailer in good shape needs regular care. Routine maintenance helps the tool work well and last longer. Small steps done often stop big problems.
Regular Cleaning Schedule
Clean your nailer after every few uses. Wipe off dust and dirt with a dry cloth. Use compressed air to remove debris inside the tool. Check the nail chamber and remove jammed nails. Apply a few drops of oil to moving parts for smooth action. A clean nailer works better and is safer to use.
Proper Storage Practices
Store the framing nailer in a dry place. Avoid damp areas that cause rust or damage. Keep it in a case or toolbox to protect from dust. Make sure the nailer is unloaded before storing. Store away from children and pets for safety. Proper storage keeps the nailer ready for your next job.

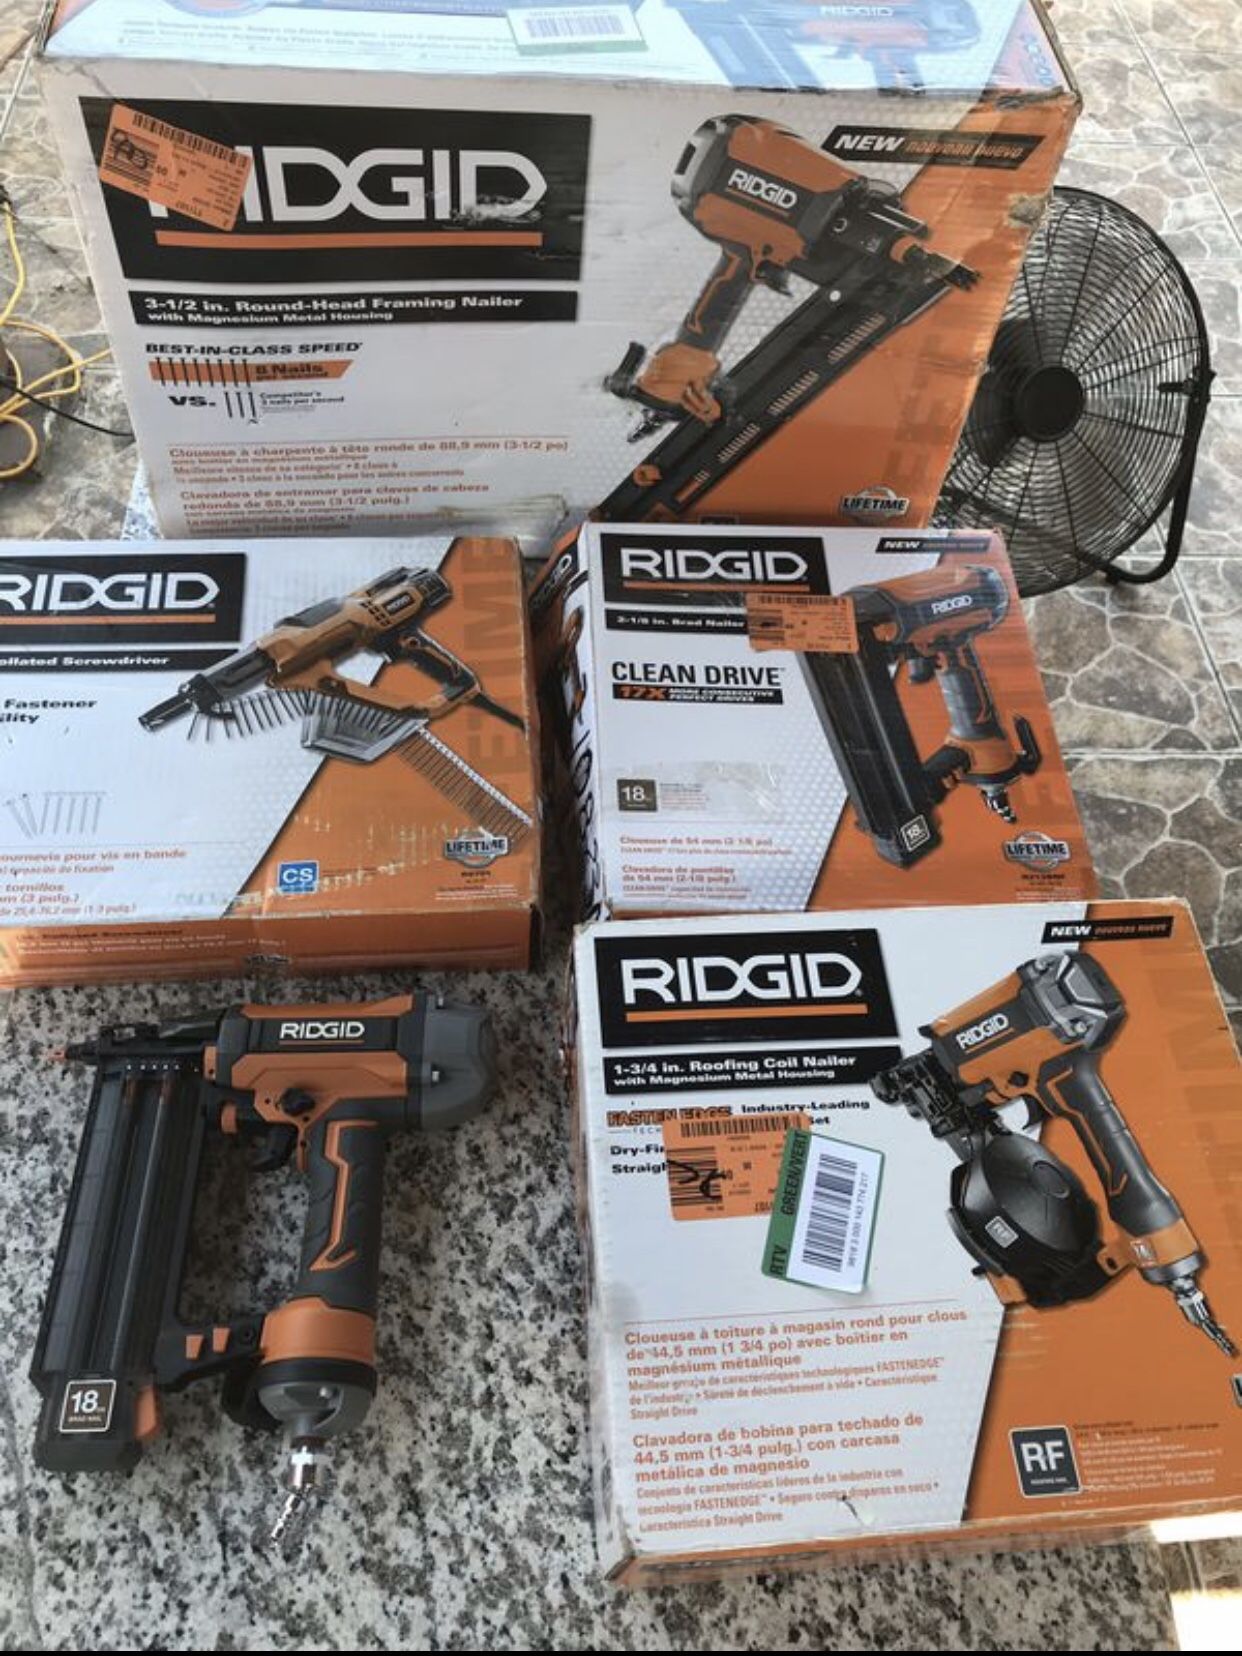
Credit: www.youtube.com
Frequently Asked Questions
How Often Should I Clean My Framing Nailer?
Clean your framing nailer after every major project or after 5000 nails. Regular cleaning prevents jams and extends tool life.
What Tools Do I Need To Clean A Framing Nailer?
You need a soft brush, compressed air, clean cloth, and lubricating oil. These tools help remove debris and keep parts moving smoothly.
Can I Use Wd-40 To Clean My Framing Nailer?
Avoid WD-40 as it can attract dust and gum up the tool. Use manufacturer-recommended lubricants for best results.
How Do I Prevent Rust On My Framing Nailer?
Keep your nailer dry and apply a light coat of oil after cleaning. Store it in a dry, cool place to avoid rust.
Conclusion
Cleaning your framing nailer helps it work well for a long time. Regular care stops jams and keeps nails firing smoothly. Take time to remove dust, dirt, and old oil after each use. A clean nailer means fewer repairs and better safety.
Keep your tool ready for every project by cleaning it often. Small steps make a big difference in tool performance. Stay safe and save money with simple cleaning habits. Your framing nailer will thank you with reliable service every time.