Are you tired of fumbling with your impact driver every time you need to switch bits? Changing bits might seem tricky at first, but once you know the simple steps, it becomes quick and effortless.
Imagine saving time on your projects and working more efficiently with just one easy trick. In this guide, you’ll learn exactly how to change bits in your impact driver the right way—no confusion, no frustration. Keep reading to unlock the secret to smoother, faster work every time you pick up your tool.

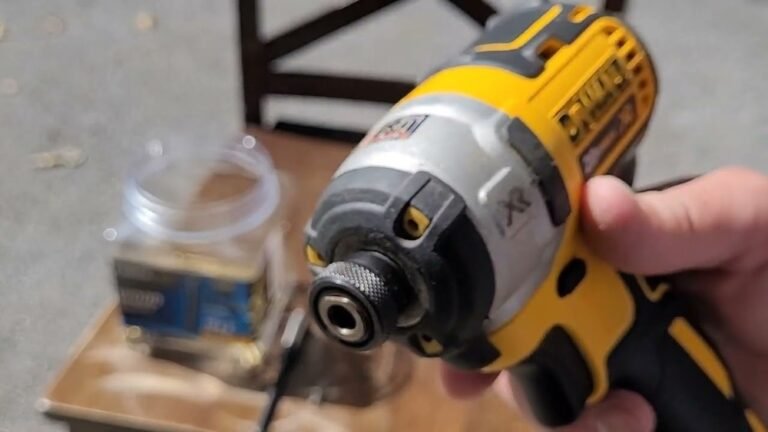
Credit: www.youtube.com
Types Of Impact Driver Bits
Impact driver bits come in different types. Each type fits specific screws and tasks. Choosing the right bit helps you work faster and safer. Bits vary by size and material. Understanding these differences is key to using your impact driver well.
Common Bit Sizes
Bits come in many sizes. The most common sizes are 1/4 inch hex shank. This size fits most impact drivers. Screw heads also vary in size. Phillips, flathead, Torx, and square bits are popular. Each size matches a screw type. Using the correct size prevents damage to screws and bits.
Material And Durability
Bits are made from different metals. Steel is common and offers good strength. Some bits have extra coatings. These coatings resist wear and rust. Hardened steel bits last longer. They handle the high torque from impact drivers. Quality bits reduce the chance of breaking during use.
Tools Needed For Bit Change
Changing bits in an impact driver requires the right tools. Having these tools makes the process quick and safe. It also helps protect your driver and bits from damage. Below are the main tools you need before starting.
Safety Gear
Safety should always come first. Wear safety glasses to protect your eyes from flying debris. Use gloves to keep your hands safe and improve grip. A dust mask can help if you work in dusty places. These simple items reduce the risk of injury during bit changes.
Additional Accessories
Some extra tools can make bit changes easier. A magnetic bit holder keeps bits steady and easy to handle. A small flashlight helps you see the bit and chuck clearly. Having a clean cloth nearby helps wipe dust and dirt off the bits. These accessories improve your work and save time.
Preparing Your Impact Driver
Preparing your impact driver before changing bits is important for safety and efficiency. Taking a few simple steps helps avoid accidents and makes the process smooth. It ensures the tool is ready and safe to handle.
Power Off And Unplug
Always turn off the impact driver before changing bits. Remove the battery or unplug the tool from the power source. This prevents accidental starts that can cause injury. Safety first.
Clearing The Chuck
Check the chuck for any debris or old bits. Clean it with a dry cloth or brush if needed. A clear chuck holds the new bit firmly in place. This helps the bit work properly and last longer.
Credit: allurelakestorey.com
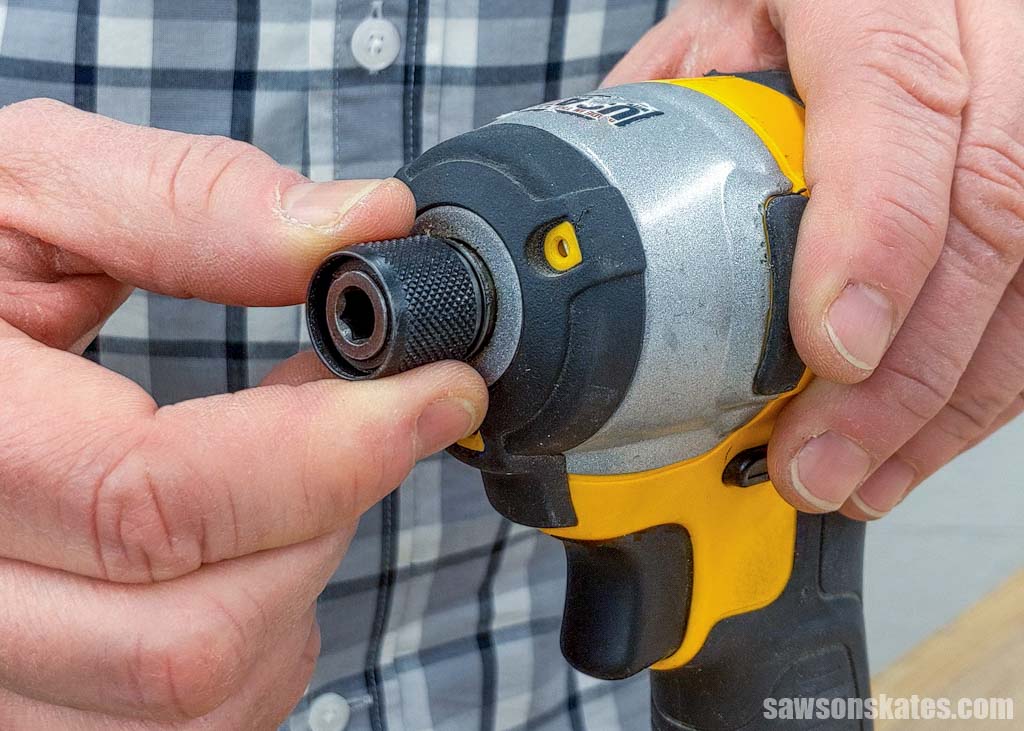
Removing The Old Bit
Removing the old bit from an impact driver is the first step to change it. This process is simple but needs care. A proper removal helps protect your tool and makes the next steps faster. Follow clear steps to avoid damage and work safely.
Grip And Release Mechanism
Hold the impact driver firmly with one hand. Use your other hand to grip the collar near the bit. This collar usually twists or pulls to release the bit. Twist or pull the collar gently. The bit will slide out smoothly. Keep your grip steady to avoid slipping.
Tips For Stuck Bits
Sometimes bits get stuck inside the driver. Try twisting the collar back and forth. Use a little more force but stay gentle. Tap the bit lightly with a small hammer. This helps loosen tight bits. Avoid using sharp tools to pry the bit out. This can damage your driver.
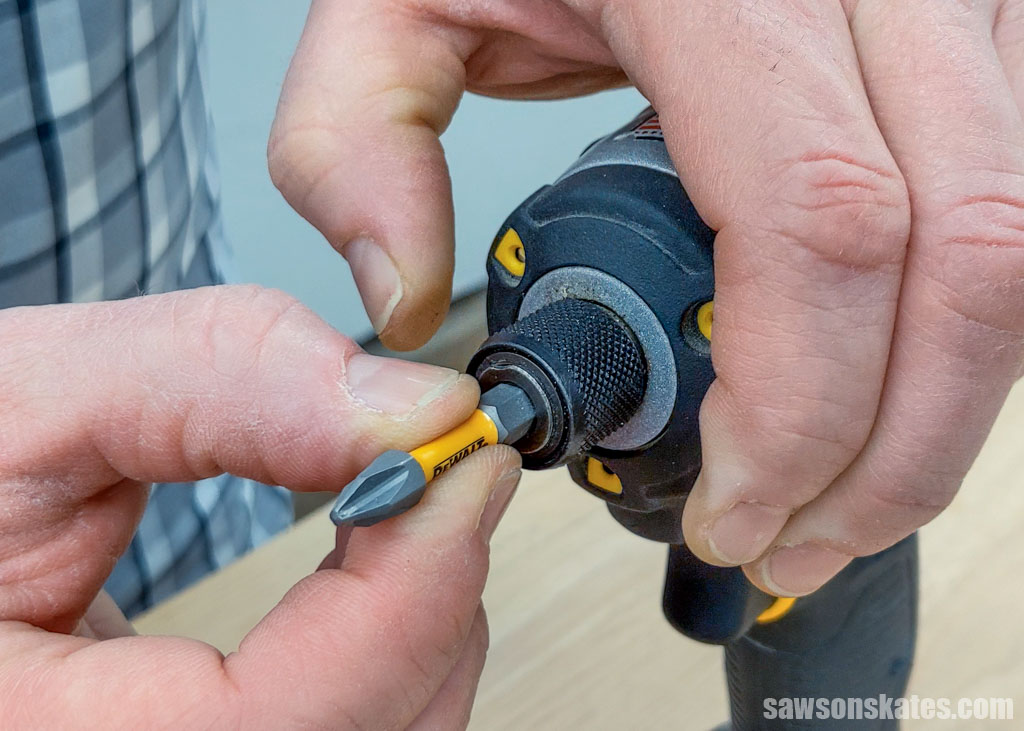
Inserting The New Bit
Inserting the new bit into an impact driver is a simple process. It ensures your tool works effectively for your tasks. Follow these steps carefully to avoid damage and keep your work smooth.
Aligning The Bit Properly
Hold the new bit by its base. Look at the bit holder on the driver. Line up the flat side of the bit with the flat part inside the holder. Push the bit straight into the holder. Make sure it fits snugly without force.
Securing The Bit Firmly
Once the bit is in place, check its grip. Pull gently to see if it stays fixed. If the driver has a collar, twist it to lock the bit. This keeps the bit from slipping during use. A tight fit improves safety and performance.
Testing The Bit Installation
Testing the bit installation is important before starting your work. It ensures the bit fits well and stays in place. A secure bit helps you work safely and efficiently. Take a moment to check the bit after installing it.
Short Power-on Test
Turn on the impact driver briefly. Watch the bit carefully while it runs. The bit should spin smoothly without wobbling. Stop the driver after a few seconds. This test shows if the bit is properly seated.
Checking Bit Stability
Hold the bit and try to move it by hand. It should feel tight and not move. A loose bit can slip during use and cause damage. Make sure it does not wiggle or fall out easily. Stability means the bit is ready for work.
Maintenance Tips For Impact Drivers
Keeping your impact driver in good shape helps it last longer and work better. Regular care prevents problems and saves money on repairs. Simple steps like cleaning and storing bits properly keep your tool ready for any job.
Cleaning The Chuck
The chuck holds the bit tightly during use. Dirt and dust can build up inside it. Clean the chuck often to avoid slipping bits. Use a small brush or cloth to remove debris. Avoid water or harsh chemicals that can cause rust. A clean chuck grips bits firmly and improves safety.
Storing Bits Correctly
Bits can wear out or break if not stored well. Keep bits in a dry, organized case to protect them. Avoid mixing different sizes or types together. Label the case to find bits quickly. Proper storage stops rust and damage. Bits stay sharp and ready for your impact driver.
Credit: www.veracartolano.com
Frequently Asked Questions
How Do I Change Bits In An Impact Driver?
To change bits, first release the chuck by pulling it forward. Remove the old bit and insert the new one firmly. Ensure it clicks into place before use for secure operation.
What Types Of Bits Fit Impact Drivers?
Impact drivers use hex-shank bits, typically 1/4 inch in size. Choose bits designed for impact use to ensure durability and better performance.
Can I Use Regular Drill Bits In An Impact Driver?
Regular drill bits are not recommended for impact drivers. Impact drivers need specially designed bits to withstand high torque and prevent damage.
How To Safely Remove Stuck Bits From Impact Drivers?
If a bit is stuck, turn off the driver and pull the chuck forward. Gently wiggle the bit to loosen it. Avoid using excessive force to prevent damage.
Conclusion
Changing bits in an impact driver is simple and quick. Just follow the steps carefully. Always make sure the driver is off before you start. Use the right bit for your task to work well. Practice a few times to feel confident.
This skill helps you finish projects faster. Keep your bits clean and check for damage. Now, you can change bits without trouble. Ready to tackle your next job with ease?

Michael Harris is an experienced woodworker and power tool expert with over 12 years in woodworking. Specializing in functional, high-quality furniture, he offers expert advice on tool selection, maintenance, and sharpening for both beginners and professionals.

