How to Make Straight Cuts With a Circular Saw: Expert Tips Revealed
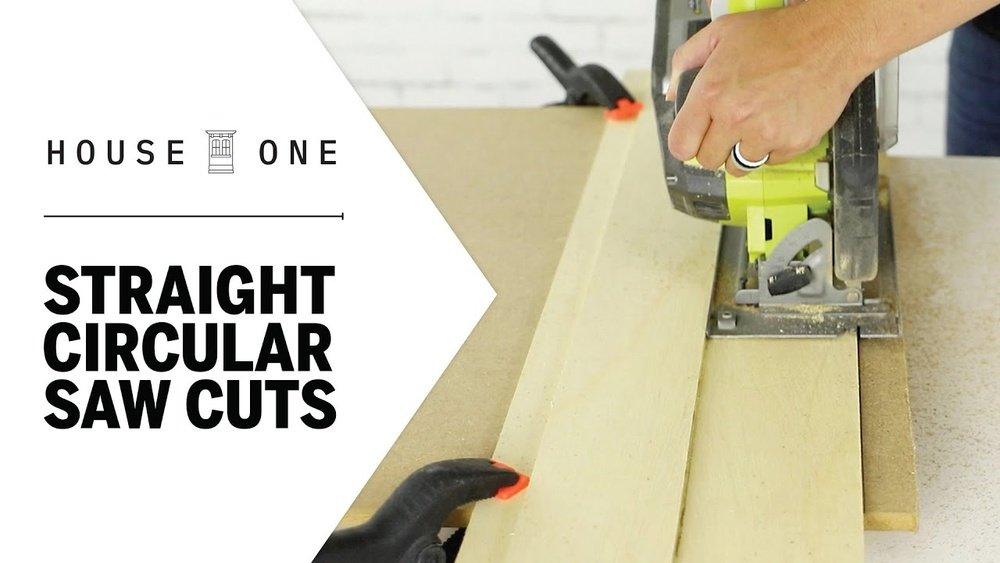
Making straight cuts with a circular saw can feel tricky if you’re not sure how to handle the tool. But what if you could master this skill quickly and confidently?
Imagine cutting wood perfectly every time, saving both time and frustration. You’ll discover simple, clear steps to help you make straight, clean cuts with your circular saw. Whether you’re a beginner or just want to improve your technique, these tips will make your next project smoother and more precise.
Keep reading to unlock the secrets that professionals use to get flawless results.
Choosing The Right Blade
Choosing the right blade is crucial for making straight cuts with a circular saw. The blade affects the cut’s accuracy and smoothness. A proper blade reduces splintering and helps you finish faster. Picking the correct blade depends on the material and the type of cut you want.
Blade Types For Straight Cuts
Different blades suit different materials. A plywood blade has many small teeth for clean cuts. A general-purpose blade works on wood and plastic but may not be very smooth. For metal, use a blade made for metal cutting. Using the right type prevents rough edges and ensures straight cuts.
Blade Sharpness And Condition
A sharp blade makes cleaner cuts and reduces effort. Dull blades tear wood and cause rough edges. Check your blade before every job. Replace or sharpen it if it looks worn or damaged. Keeping the blade sharp improves both safety and cut quality.
Blade Size And Teeth Count
Blades come in different sizes and tooth counts. Larger blades cut deeper but need more power. Smaller blades are lighter and easier to control. More teeth mean smoother cuts but slower cutting speed. Fewer teeth cut faster but leave rough edges. Choose the right size and teeth for your project.
Preparing Your Workspace
Preparing your workspace is the first step to making straight cuts with a circular saw. A clean, organized area helps you cut safely and accurately. Taking time to set up your work zone can save you from mistakes and accidents.
Securing The Material
Hold the wood firmly in place before cutting. Use clamps or a sturdy workbench to stop it from moving. Moving material can cause uneven cuts or kickback. Make sure the wood does not shift during the cut.
Clearing The Cutting Area
Remove all tools and debris from the cutting path. Clear space around your saw for smooth movement. Sawdust and scraps can block your view or cause slips. Keep the area clean for better control and safety.
Setting Up Proper Lighting
Good light helps you see the cutting line clearly. Use bright, focused lights to avoid shadows. Shadows can make it hard to follow the mark. Proper lighting reduces errors and improves precision.
Marking Your Cut Line
Marking your cut line is the first step for making straight cuts with a circular saw. Clear and precise lines guide your saw and help avoid mistakes. Taking time here saves effort and material later.
Use tools that give you a straight and visible line. Measure carefully to get exact lengths. Check your marks twice before cutting to ensure accuracy and safety.
Using A Straightedge Or Guide
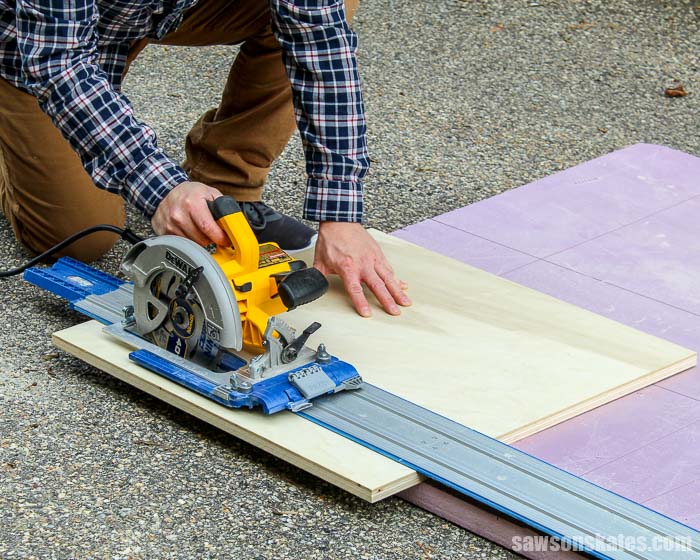
A straightedge or guide helps make a clean, straight line. Use a ruler, a level, or a piece of wood as your guide. Place it firmly on the wood where you want to cut.
Draw the line along the edge of the guide. This ensures your cut will follow a perfect straight path. Avoid freehand drawing to reduce errors.
Measuring And Marking Tips
Measure twice to avoid mistakes. Use a tape measure or a ruler. Mark the start and end points of your cut clearly.
Use a sharp pencil or a fine marker for visible lines. Mark the wood’s face side where the cut will be visible. This helps align the saw correctly.
Double-checking Your Marks
Review your marked line before cutting. Compare the marks with your measurement tool again. Make sure the line is clear and straight.
Stand back and look at the line from different angles. Confirm the line matches your intended cut perfectly. Accurate marks lead to better, safer cuts.
Credit: sigra.com
Adjusting The Circular Saw
Adjusting a circular saw is the first step to making straight cuts. Proper adjustments help improve accuracy and safety. It ensures the saw cuts only as deep as needed. The saw becomes easier to control, leading to cleaner edges.
Setting The Depth Of Cut
Set the blade depth so it is just a little deeper than the thickness of the wood. This reduces the risk of kickback and helps the blade stay straight. To adjust, unlock the depth lever and slide the base plate up or down. Lock it firmly before cutting.
Aligning The Base Plate
The base plate guides the saw along the cutting line. Make sure it is flat and steady on the wood surface. Check that the plate is not tilted or uneven. Hold the saw firmly and keep the base plate flush against the wood for smooth cuts.
Checking The Blade Guard
The blade guard protects your hands and prevents accidents. Check that it moves freely and covers the blade completely when not cutting. Do not disable or remove the guard. Keep it clean and free of debris for safe operation.
Cutting Techniques
Cutting techniques are key to making straight cuts with a circular saw. Good technique helps you control the saw and get smooth edges. It reduces mistakes and keeps your work safe.
Focus on three main areas: starting the cut, keeping a steady speed, and guiding the saw along the cut line. Each step matters to achieve a clean, straight cut.
Starting The Cut Smoothly
Place the saw blade just outside the cut line. Turn the saw on before touching the wood. Let the blade reach full speed. Then slowly lower the saw into the wood. Avoid forcing the blade. This prevents splintering and keeps the cut straight.
Maintaining Steady Speed
Push the saw forward at a steady pace. Not too fast, not too slow. A smooth speed lets the blade cut cleanly. Pushing too hard can cause the saw to veer off. Going too slow might burn the wood. Find a balanced speed for better control.
Controlling The Saw Path
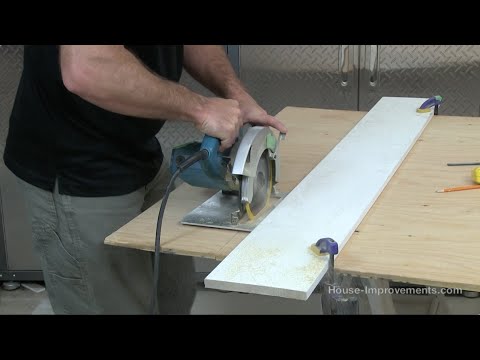
Keep your eyes on the cut line, not the blade. Hold the saw firmly with both hands. Follow the guide or chalk line closely. Adjust your angle if the saw starts to drift. Small corrections keep the cut straight. Stay calm and steady for the best results.
Credit: www.youtube.com
Using Guides And Accessories
Using guides and accessories with your circular saw helps make straight cuts easier and more accurate. These tools keep the saw steady and ensure the blade follows a clear path. They save time and reduce mistakes, even for beginners.
Straightedge Clamps
Straightedge clamps hold a ruler or straight board firmly on your workpiece. They create a guide for the saw to follow. Clamp the straightedge tightly to avoid slipping during the cut. This method is simple and works well for long, straight cuts.
Cutting Jigs
Cutting jigs are custom tools designed to hold the saw or wood in place. They guide the saw along a fixed path. You can build or buy jigs for repeatable cuts. Jigs improve safety and cut quality, especially for angled or small cuts.
Laser Guides
Laser guides project a visible line on the wood. This line shows exactly where the blade will cut. Laser guides attach to the saw and help keep your cut straight. They are useful in low light and for quick alignment without extra tools.
Safety Precautions
Safety is the top priority when using a circular saw. Taking the right precautions helps avoid injuries. Follow these key safety steps every time you cut.
Wearing Protective Gear
Always wear safety glasses to protect your eyes from dust and debris. Use ear protection to guard against loud noise. Wear gloves to keep your hands safe. Choose sturdy shoes to protect your feet. Never skip wearing the right gear.
Keeping Hands Clear
Keep your hands away from the saw blade at all times. Use clamps to hold the wood steady instead of your hands. Maintain a safe distance while cutting. Do not reach under the wood or near the blade. Safety depends on keeping your hands clear.
Proper Saw Handling
Hold the saw firmly with both hands. Keep your body balanced and feet steady. Make sure the saw blade is sharp and clean. Always wait for the blade to stop before setting the saw down. Proper handling reduces the chance of accidents.
Troubleshooting Common Issues
Troubleshooting common issues with a circular saw can save time and improve your cuts. Many beginners face problems like blade drift, kickback, and rough edges. These issues affect the quality and safety of your work. Fixing them helps make straight, clean cuts every time.
Avoiding Blade Drift
Blade drift happens when the saw moves off the cutting line. This makes your cut crooked and uneven. To avoid drift, check that the blade is sharp and properly aligned. Use a guide or straight edge to keep the saw on track. Press the saw firmly but do not force it. Let the blade do the work slowly and steadily.
Dealing With Kickback
Kickback is a sudden push that can throw the saw back toward you. It happens when the blade binds or hits a knot in the wood. To reduce kickback, keep a firm grip on the saw. Always stand to the side of the cut path. Avoid cutting warped or twisted wood. Make sure the blade guard works well and never remove it.
Fixing Rough Edges
Rough edges make your project look unprofessional. They happen if the blade is dull or the cut speed is too fast. Use a fine-tooth blade for smoother cuts. Cut at a steady pace without rushing. Sand the edges lightly after cutting to smooth any rough spots. This gives your wood a clean, finished look.

Credit: pineandpoplar.com
Frequently Asked Questions
How Do I Ensure Straight Cuts With A Circular Saw?
Use a straight edge or guide rail to guide your saw. Keep the saw steady and follow the guide closely for accurate cuts.
What Blade Type Is Best For Straight Cuts?
Use a fine-toothed, carbide-tipped blade. It provides cleaner cuts and reduces splintering for precise results.
How Do I Prevent The Wood From Splintering?
Score the cut line with a utility knife before cutting. Also, cut with the good side down to minimize splintering.
Can I Use A Circular Saw Without A Guide?
Yes, but it’s harder to maintain a straight line. Using a guide improves accuracy and safety during cuts.
Conclusion
Straight cuts with a circular saw become easier with practice. Always measure and mark your wood clearly. Keep the saw steady and follow the guide. Safety gear protects you from accidents. Take your time and don’t rush the cut. Clean, straight edges improve your project’s look.
With these tips, your cuts will be neat and precise. Keep practicing, and your skills will grow. A good cut saves time and material. Enjoy your woodworking with confidence and care.

Michael Harris is an experienced woodworker and power tool expert with over 12 years in woodworking. Specializing in functional, high-quality furniture, he offers expert advice on tool selection, maintenance, and sharpening for both beginners and professionals.