How to Drill Into Concrete Safely 2026: That Actually Work
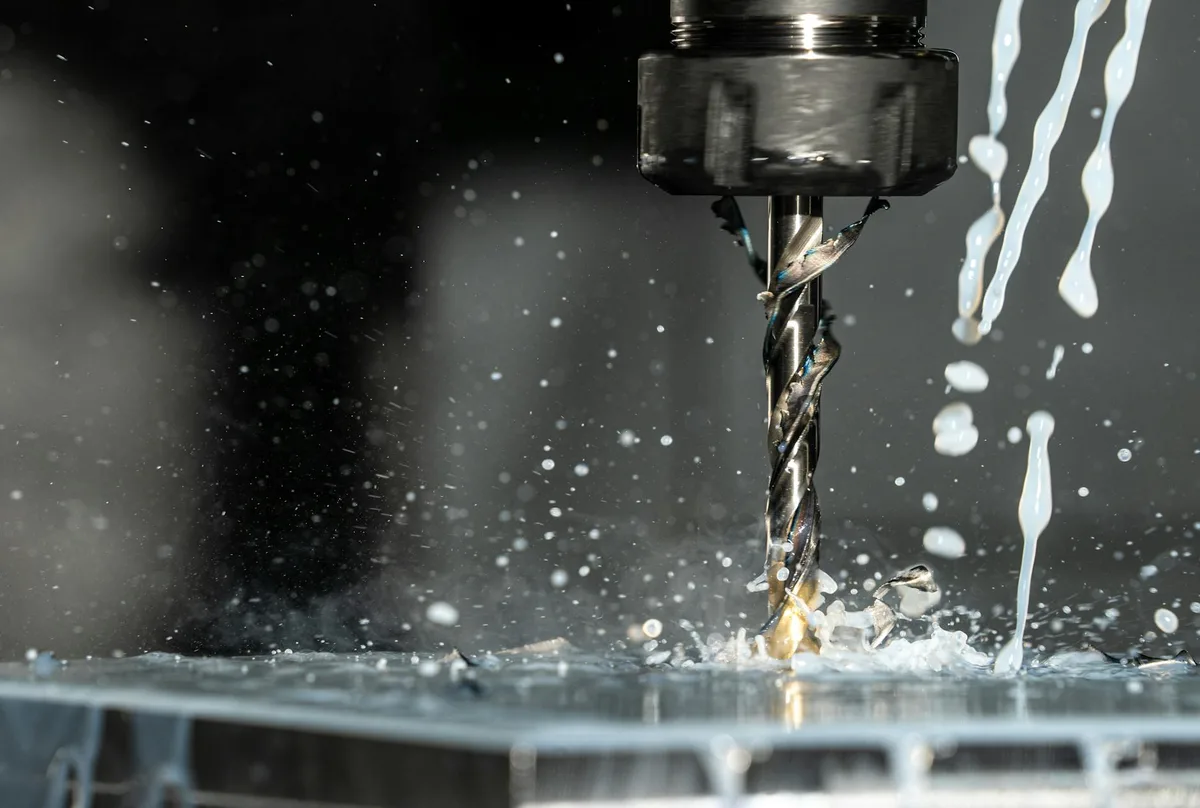
Drilling into concrete can seem like a straightforward task, but cutting corners when you don't know how to drill into concrete safely can lead to serious injury or costly damage. Before you even pick up a drill, understanding the risks and the right precautions is crucial for any DIYer or professional. This guide breaks down exactly what you need to know, from the tools to the dust.
In our research, we found that incorrect drilling techniques can lead to more than just a messy hole; they pose significant health hazards, particularly from silica dust. The Occupational Safety and Health Administration (OSHA) highlights that prolonged exposure to crystalline silica dust, found in concrete, can cause serious lung disease. That’s why mastering safe drilling practices, which often involve specialized equipment and careful preparation, is essential for every project involving this tough material.
Why Drilling Concrete Safely Isn't a Joke
Any time you're working with power tools and hard materials, safety needs to be front and center. It’s easy to underestimate the forces at play or the invisible dangers present when you're just trying to get a simple job done, like mounting a bracket or hanging a cabinet. But ignorance here isn't bliss; it can lead to immediate injury, long-term health problems, or damage to your home or tools.
Image source: Pexels / Daniel Smyth (Pexels License)
Our editorial analysis of numerous DIY forums and contractor feedback indicates that most drilling accidents stem from a lack of awareness about the specific risks involved with concrete. These risks range from flying debris and tool kickback to something far more insidious: airborne silica dust. Understanding these potential pitfalls is the first, and arguably most important, step in preparing for the task.
Understanding the Risks: What Can Go Wrong?
When you drill into concrete, you're not just making a hole; you're engaging a dense, complex material that can harbor hidden dangers. Not being prepared for these can turn a simple DIY project into a hazardous situation, fast. It’s less about the size of the hole and more about the potential for what can go wrong if safety isn't the top priority.
The Dust Hazard: Silica and Your Lungs
The biggest invisible threat when drilling concrete is the dust created. Concrete contains crystalline silica, and when you cut or drill it, this silica breaks down into extremely fine particles. In our research, we learned that these particles are so small they can remain suspended in the air for hours, and when inhaled, they can cause serious, irreversible lung damage over time.

Image source: Pexels / Steve A Johnson (Pexels License)
This dust poses a significant respiratory risk, leading to conditions like silicosis, lung cancer, and chronic obstructive pulmonary disease (COPD). According to the Centers for Disease Control and Prevention (CDC), there's no cure for silicosis, making prevention through proper dust control and respiratory protection absolutely critical. Wearing the right mask isn't optional; it's part of the essential safety gear.
Electrical and Plumbing Dangers
Concrete structures often contain embedded conduits for electrical wiring or pipes for plumbing. If your drill bit strikes one of these, you're looking at a serious safety hazard. Hitting an electrical wire can lead to electrocution, while puncturing a water pipe can cause significant water damage and potentially create slip hazards.
A quick scan with a stud finder or a dedicated utility scanner can help locate potential hazards before you drill. Manufacturer specifications for these scanners often indicate they can detect live electrical wires up to two inches deep in common wall materials, though their effectiveness in dense concrete can vary. Always err on the side of caution and assume there might be something hidden.
Equipment Damage and Injury
Concrete is unforgiving, and using the wrong tool or technique can quickly overwhelm your equipment. A standard drill, for instance, isn't designed for the rotational forces and impacts needed to penetrate concrete efficiently. Pushing it too hard can overheat the motor, strip gears, or even break the chuck.
Beyond tool damage, improper drilling can lead to dangerous kickback. If the drill bit binds in the concrete, the tool can violently twist out of your grip, potentially causing sprains, fractures, or cuts from the spinning bit or the tool itself. This is especially true if you hit rebar or an unexpected void.
Essential Gear for Drilling Concrete Safely
Having the right tools isn't just about making the job easier; it's about making it safe and effective. When it comes to concrete, your standard household drill likely won't cut it for anything more than the lightest tasks. Investing in or renting the correct equipment is a non-negotiable step for anyone serious about drilling concrete safely and properly.
Choosing the Right Drill: Rotary Hammer vs. Hammer Drill
There are two main types of drills you'll encounter for concrete work: hammer drills and rotary hammers. A hammer drill uses a cam mechanism to create a rapid, percussive hammering action along with rotation, which is effective for softer masonry like brick or cinder block, and some lighter concrete tasks. It’s generally what you might find in a homeowner's toolbox.
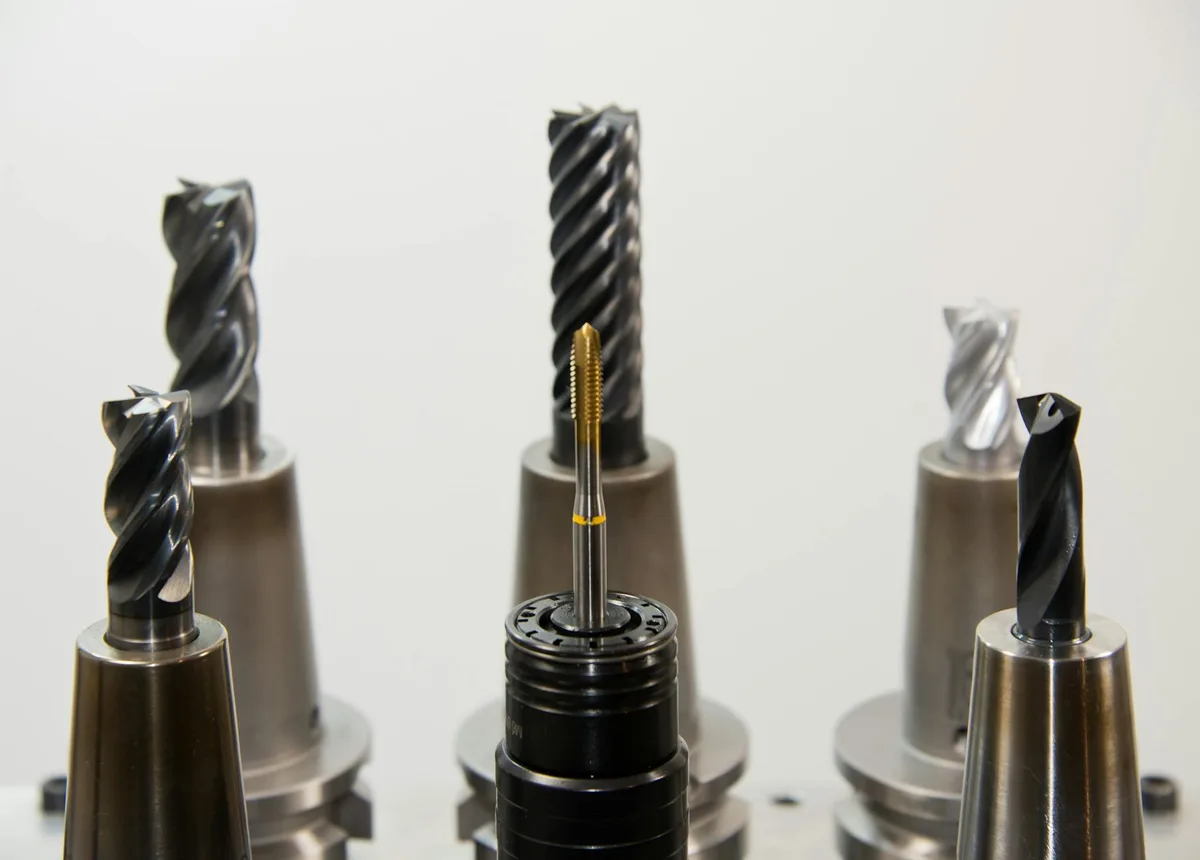
Image source: Pexels / Pixabay (Pexels License)
A rotary hammer, on the other hand, uses a piston mechanism to deliver much more powerful hammering blows, similar to a small jackhammer, in addition to rotation. This makes it the superior choice for drilling into hard concrete or for making larger holes. Rotary hammers often use SDS-Plus or SDS-Max chuck systems, which are designed to handle the intense forces. For drilling through thick, reinforced concrete, a rotary hammer is generally recommended.
Masonry Drill Bits: The Working End
You absolutely cannot use standard wood or metal drill bits on concrete. You need specialized masonry drill bits, which are constructed with a hardened steel body and a tip made from extremely hard material, typically tungsten carbide. This carbide tip is brazed onto the steel shank and is what grinds away the concrete.
When selecting masonry bits, consider the type of concrete and the size of the hole you need. Smaller bits (1/4 inch to 1/2 inch) are common for anchors, while larger bits are used for different applications. The length of the bit also matters; ensure it’s long enough to create the full length of the hole and the diameter of the bit determines how much material needs to be removed. Carbide-tipped bits are rated for hardness, and higher ratings generally mean longer life and ability to cut through denser aggregates.
Always check the bit’s packaging for its intended use and compatibility with your drill.
Dust Control: Your Best Defense
We’ve touched on dust hazards, but it bears repeating: managing dust is paramount when drilling concrete. Most modern rotary hammers and some hammer drills come with dust extraction ports. These connect to a vacuum cleaner or dedicated dust collection system, significantly reducing airborne particles.
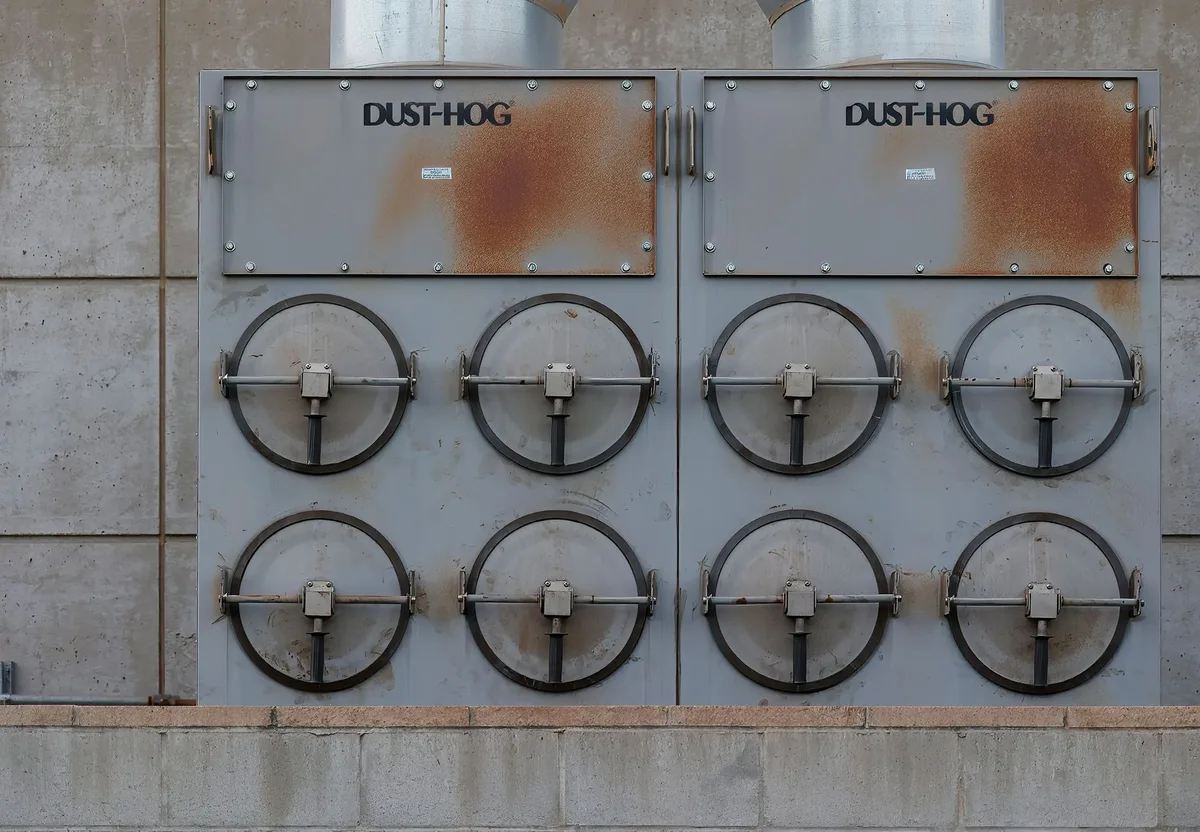
Image source: Pexels / David Brown (Pexels License)
Manufacturer specifications for dust extraction systems often detail the cubic feet per minute (CFM) of air they can manage, indicating their effectiveness. For tasks involving extensive drilling, a contractor-grade vacuum with a HEPA filter is ideal. If your drill doesn't have integrated dust collection, consider using a shroud attachment that fits around the drill bit.
Personal Protective Equipment (PPE) Checklist
Beyond dust control, a complete set of Personal Protective Equipment (PPE) is your last line of defense against injury. This isn't just about comfort. It's about preventing immediate harm.
- Safety Glasses or Goggles: These protect your eyes from flying concrete chips and dust. Full-coverage goggles offer better protection against fine dust infiltration than standard safety glasses.
- Hearing Protection: Rotary hammers and even strong hammer drills can generate noise levels exceeding 100 decibels, which can cause permanent hearing damage over time. Earmuffs or earplugs are essential.
- Respirator Mask: As mentioned, a proper respirator mask (N95 or higher) is crucial for filtering out dangerous silica dust. Ensure it fits snugly to create an effective seal.
- Work Gloves: Heavy-duty work gloves protect your hands from abrasions, blisters, and minor impacts. They also improve your grip on the drill.
- Sturdy Footwear: Steel-toed boots are recommended, especially if you're working on a construction site, to protect your feet from dropped tools or materials.
The Step-by-Step Field Guide to Drilling Concrete
Now that you've got the right gear and a clear understanding of the risks, let's walk through the actual process. Breaking it down into manageable steps ensures you don't miss anything critical. Remember, patience and precision are key when working with concrete.
Step 1: Prepare Your Workspace and Gear
First, clear the area around where you'll be drilling. Remove any clutter, furniture, or obstacles that could get in your way or become a hazard if you need to move quickly. Ensure good lighting so you can clearly see your work surface and any potential hazards.
Lay out all your PPE and have it ready for immediate use. Make sure your drill is charged or plugged in, and that you have the correct masonry bit securely installed in the chuck. If using a dust extraction system, connect it now and ensure it's operational.
Step 2: Locate Utilities Before You Drill
This is non-negotiable. Before making any holes, especially in walls or floors where utilities might be hidden, always perform a thorough scan. Use a stud finder that also detects live electrical wires and metal pipes. If you’re unsure about the accuracy or capability of your scanner, it's safer to assume utilities are present and proceed with extreme caution, or consult a professional.
Manufacturer specs for utility scanners typically list detection depths and sensitivities. For instance, some models can detect AC voltage up to 18 inches away. If a scanner indicates a potential hazard in your drilling zone, do not proceed. Explore alternative locations or consult the relevant utility company or a qualified tradesperson.
Step 3: Mark Your Spot and Set the Depth
Once you've confirmed the drilling zone is clear of utilities, mark the exact spot where you need the hole. Use a pencil or chalk that will be visible on the concrete. If you're installing an anchor, consult its specifications for the required hole depth.
Most rotary hammers and hammer drills have an adjustable depth stop. This is a rod that attaches to the drill body and can be set to prevent you from drilling deeper than intended. Set this depth stop accurately according to your anchor's requirements. A common requirement for many concrete anchors is a hole depth that is slightly deeper than the anchor itself, allowing for expansion or proper seating.
Step 4: The Drilling Process: Pressure and Patience
With your drill, bit, dust control, and PPE ready, it's time to start drilling. Place the tip of the masonry bit precisely on your marked spot. For rotary hammers, engage the rotation and hammer function. For hammer drills, ensure the hammer function is on.
Apply firm, steady pressure to the drill. Don't force it; let the tool do the work. If the drill starts to bog down, it might indicate you’ve hit a particularly hard aggregate or, worse, rebar. If you are using a rotary hammer, ensure you're holding it with both hands, as kickback can be powerful.
Step 5: Dealing With Rebar (When You Hit It)
Hitting rebar, the steel reinforcing bars embedded in concrete, is a common issue. If your drill bit encounters rebar, you'll likely feel a distinct stop and a change in resistance. Pushing harder can damage your drill bit and potentially the drill itself.
If you hit rebar, your primary options are:
- Shift Position: If possible, slightly adjust the location of your hole and try again. Even a small shift can move you away from the rebar.
- Use a Specialized Bit: For very occasional rebar encounters and if repositioning isn't an option, there are specialized masonry bits designed to cut through rebar, though they are aggressive and wear out faster. These are typically diamond-grit or feature a very robust carbide tip.
- Consult a Professional: If your project requires drilling through reinforced concrete regularly and you’re consistently hitting rebar, it might be time to bring in a contractor who has the appropriate equipment and experience.
Common Mistakes That Lead to Trouble
Even with general safety advice in mind, specific common missteps can easily occur. Recognizing these can help you avoid them, ensuring a safer and more successful drilling experience. Many of these errors stem from trying to rush the process or using inappropriate methods.
- Using the Wrong Drill for the Job: This is probably the most frequent error. Trying to drill into hard concrete with a standard drill or an underpowered hammer drill often leads to frustration, overheated tools, and poor results. For concrete, a rotary hammer drill is generally the best tool for the job.
- Skipping Dust Control: As we’ve emphasized, silica dust is a serious health hazard. Many DIYers neglect dust extraction or proper respiratory protection, putting their long-term health at risk. This is a critical step that should never be skipped, regardless of the project size.
- Not Locating Utilities First: This mistake can lead to severe injury, fires, or costly water damage. Always use a stud finder or utility scanner, and if you have any doubt, assume utilities are present and find an alternative spot.
- Applying Too Much Pressure or the Wrong Technique: Forcing a drill bit into concrete can cause it to bind, break, or generate excessive heat. Letting the tool's hammering action do the work, applying steady, consistent pressure, and drilling at the appropriate speed are key. Overheating a bit can also make it brittle and more likely to snap.
When to Call a Pro
While many tasks involving drilling into concrete are well within the scope of a capable DIYer, there are times when it's wise to hand the job over to a professional. If you're dealing with particularly challenging concrete, such as heavily reinforced structures or areas with unknown utility locations, professional help is strongly advised. Additionally, if you’re undertaking work that requires specific engineering or structural integrity, like mounting heavy machinery or creating large openings, a contractor has the expertise and specialized equipment to do it safely and correctly.
Verified Safety Standards for Drilling Concrete
Working safely with concrete is supported by established guidelines designed to protect users. The primary concern, as we’ve detailed, is silica dust exposure. The National Institute for Occupational Safety and Health (NIOSH) provides recommendations for controlling airborne silica dust, which often involve engineering controls like dust collection systems and administrative controls like work practices and training.
OSHA standards also set permissible exposure limits (PELs) for respirable crystalline silica. For example, the OSHA PEL is typically 50 micrograms per cubic meter of air, averaged over an 8-hour workday. Adhering to these standards, and often exceeding them with personal protective equipment, is crucial for long-term health. Always check the latest guidelines from relevant government bodies before starting any major concrete drilling project.

Michael Harris is an experienced woodworker and power tool expert with over 12 years in woodworking. Specializing in functional, high-quality furniture, he offers expert advice on tool selection, maintenance, and sharpening for both beginners and professionals.