How to Select the Best Diy Tools for Beginners: Ultimate Guide 2026
A first toolbox marks the start of something powerful: the ability to repair, build, and shape your home with your own hands. Yet walking into a hardware store or scrolling through endless online listings can overwhelm any newcomer. The market in 2026 is richer than ever — brushless motors have trickled down to entry-level tools, battery platforms are more interoperable, and safety features have improved — but the sheer variety makes choosing harder, not easier.
This guide cuts through the noise. You’ll learn how to match tools to your actual projects, where to invest and where to save, what specifications actually matter, and how to avoid the costly mistakes nearly every beginner makes. By the end, you’ll have a clear, realistic path to a versatile, safe, and budget-friendly starter kit that grows with your skills. You can also read our guide on how to prevent sparks when using an angle grinder.
Why Selecting the Right Tools Matters More Than You Think
Using a poorly balanced hammer or a drill that stalls midscrew isn’t just annoying — it’s unsafe and discouraging. The right tool lets you focus on technique, finish a job faster, and actually enjoy the process. Conversely, buying a pro-grade circular saw for a single shelf is a waste of money and storage space. Thoughtful selection protects your wallet, your body, and your motivation to take on the next project.
In practice, a beginner who chooses a lightweight 12V drill with a comfortable grip will drill straighter holes and drive screws with far less fatigue than someone wrestling with a heavy 20V model they don’t need. Good choices compound into confidence.
Start With Your Project: Define Your DIY Goals First
Resist the urge to buy a tool because it looks impressive. Instead, list the three to five projects you genuinely want to tackle in the next six months. Tools should follow tasks, not the other way around.
Common Beginner Project Categories
- Simple home repairs: Hanging pictures, tightening cabinet handles, patching small drywall holes.
- Furniture assembly and upgrades: Putting together flat-pack items, adding castors or soft-close hinges.
- Basic woodworking: Building a planter box, a simple shelf, or a picture frame.
- Craft and hobby work: Crocheting, model making, customising phone cases.
- Minor electrical tasks: Replacing a light switch or installing a smart thermostat (if you’re comfortable and local regulations allow).
- Plumbing touch-ups: Fixing a leaky tap, replacing a showerhead, unclogging a drain.
Map each project to the tools it demands. Hanging a mirror might need a stud finder, a level, a cordless drill, and wall anchors — nothing more. A single garden bench build adds clamps, a handsaw or jigsaw, and sandpaper. Creating this map prevents you from buying an expensive tile saw before you’ve ever lifted a trowel.
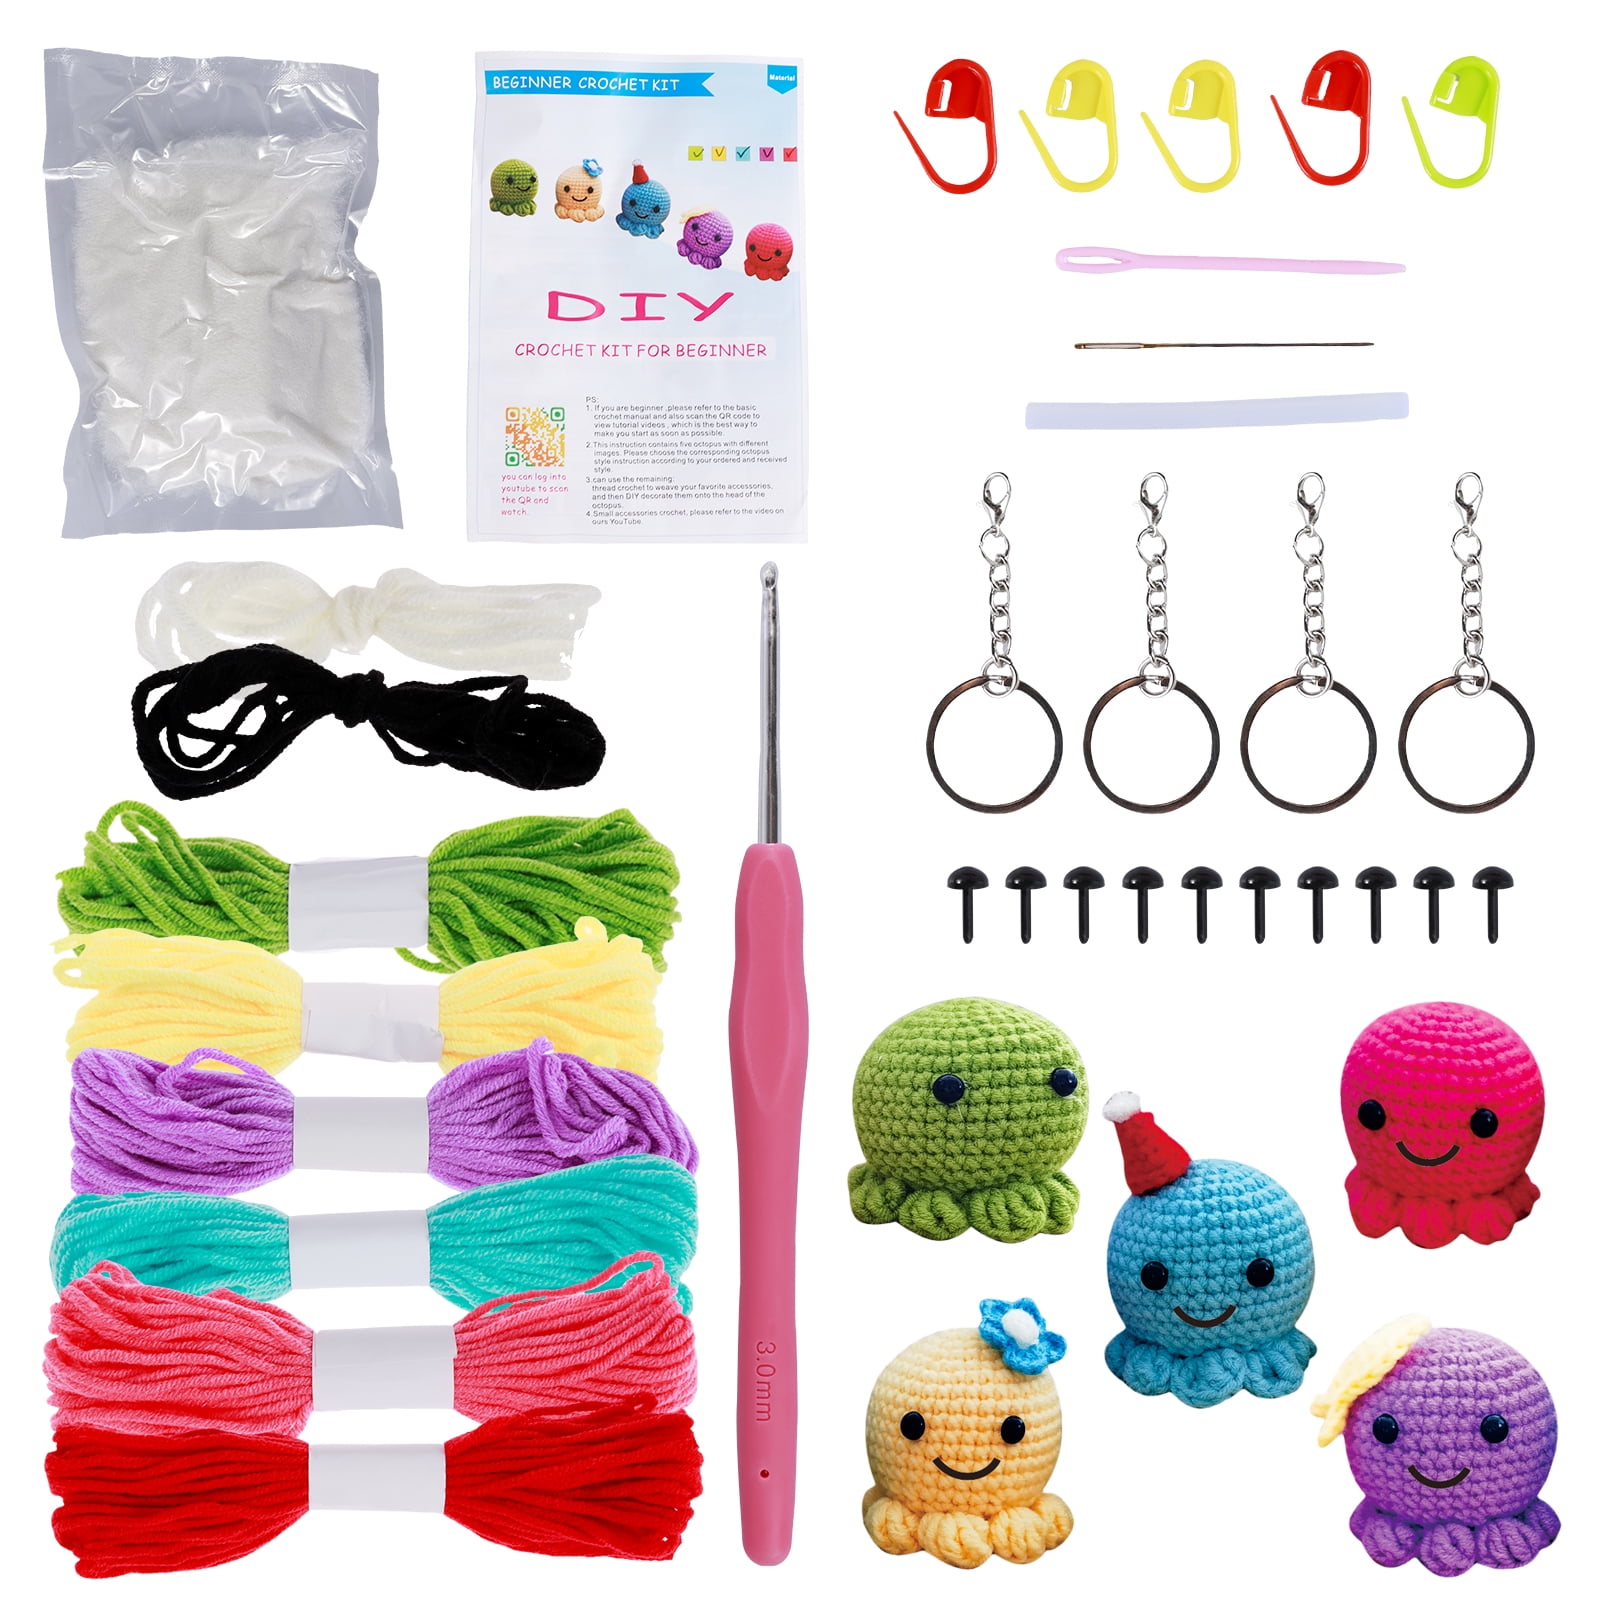
Even niche hobbies like crocheting require the right beginner supplies — project-first thinking works for every kind of DIY.
Credit: egyptiansquash.com
Essential Hand Tools Every Beginner's Kit Needs
Hand tools form the unshakeable foundation of your setup. They are affordable, require no power, and once you learn proper technique, they give you pinpoint control that power tools can’t always match.
The Non-Negotiable Core Set
- Claw hammer (16 oz): A smooth-face 16-ounce hammer with a wood, fibreglass, or steel shaft gives you driving power and nail-pulling leverage without excessive weight. Avoid stubby 8 oz tack hammers for general work.
- Screwdriver set: At minimum, a #2 Phillips and a 1/4″ flathead. Far better is a 6-piece set covering PH0, PH1, PH2, and flathead tips from 1/8″ to 1/4″. Choose acetate handles with a hex bolster near the collar — you can use a wrench to increase torque.
- Adjustable wrench (8 inch): One quality adjustable wrench covers many fastener sizes while you learn. Look for a narrow jaw profile to access tight spots.
- Groove-joint pliers (10 inch): These pliers have an adjustable pivot that opens wide enough to grip sink drain nuts and plumbing fittings, yet they still function as heavy-duty pliers.
- Tape measure (25 ft, 1-inch blade): A wider blade stands out further without collapsing, and the 25‑foot length handles room dimensions. A locking mechanism is essential.
- Utility knife with snap-off blades: For opening boxes, trimming, scoring — always sharp, always simple.
- Torpedo level (9 inch): Small enough to hang pictures, long enough to set shelves level. A magnetic edge is a frequent bonus.
- Combination square: Helps mark straight cut lines and check 90° and 45° angles; a surprisingly versatile layout tool.

A well-organized starter collection transforms a first project from intimidating to achievable.
Credit: www.youtube.com
Power Tools That Simplify Starting Out
Power tools reduce physical effort and speed up repetitive tasks. For a beginner, one versatile cordless tool should come first.
The First Power Tool: A Cordless Drill/Driver
A drill that doubles as a screwdriver tackles roughly 80 % of common beginner jobs — pilot holes, driving screws into drywall anchors, assembling furniture, even mixing small batches of paint with a stirring paddle. Look for these features in 2026:
- 12V or 18V platform: 12V models are lighter and still powerful enough for most home tasks. 18V adds headroom for larger bits and tougher materials but weighs more. A common mistake is buying a 20V max drill that far exceeds your needs and tires your arm after 10 minutes of overhead work.
- Brushless motor: Once a premium feature, brushless motors now appear in many budget-friendly drills. They run cooler, deliver longer runtime per charge, and last longer.
- Two-speed gearbox: Low speed (0–400 RPM) for driving screws with control, high speed (0–1500+ RPM) for drilling.
- Adjustable clutch: A numbered collar that disengages the drive at a set torque prevents stripping screw heads and overdriving. Start at a low setting and increase gradually — this single habit saves you hours of frustration.
- LED work light: A small but invaluable feature when working inside cabinets or dim garages. For drills with particularly bright and well-placed lights, models like those highlighted alongside our favourite kits can make a noticeable difference in accuracy. (Consider a compact cordless drill with a built-in light if you often work in shadowy corners.)
The Secondary Power Tools Worth Adding Later
Once you’re comfortable with the drill, consider these one at a time based on your project map:
- Jigsaw: Cuts curves and straight lines in plywood, MDF, and plastic. For a gentle introduction to powered sawing, an easy-to-control jigsaw built for newcomers removes much of the intimidation factor. Orbital-action settings on some models speed up cutting but may roughen the finish — start with the non‑orbital setting.
- Random orbit sander: Far more forgiving than a belt sander. Use it to smooth wood before painting or staining.
- Multi-tool (oscillating tool): Plunge cuts, flush trimming, scraping, sanding in corners — it can replace several single-purpose tools.
Resist the urge to buy a circular saw or a router until you’ve built fundamental skills and have a project that genuinely requires them. These tools demand respect and precise handling. When the time does come for larger cutting tasks, a selection of capable saws for home upgrades will guide you toward the right choice without rushing the decision.
Corded or Cordless in 2026?
Cordless tools offer unmatched freedom, and battery technology in 2026 provides runtime that covers nearly all beginner tasks on a single charge. Corded tools still win for sustained, high‑draw applications — sanding an entire deck or ripping thick hardwood — but most beginners won’t need that capability immediately. If you do go corded, understand the trade-offs clearly by reading up on the practical differences between cordless and corded setups for home DIYers. Start cordless, rent or borrow a corded saw if a project demands it.
Safety Gear You Should Never Skip
No list of beginner tools is complete without protective equipment. Each piece is cheap compared to an emergency room visit.
- Safety glasses (ANSI Z87.1‑rated): Impact‑rated glasses shield your eyes from flying chips, dust, and nail gun misfires. Standard prescription glasses are not enough. Look for anti‑fog coatings — fogged lenses cause people to remove glasses mid‑job, precisely when risk is highest. The U.S. Consumer Product Safety Commission (CPSC) consistently highlights eye injuries as a leading preventable harm during home improvement tasks.
- Hearing protection: Even a cordless drill hammering through masonry can climb beyond safe decibel levels. Foam earplugs are better than nothing, but earmuffs with a 22–25 dB noise reduction rating are easier to put on and remove consistently.
- Dust mask or reusable half‑face respirator: Sanding drywall, sawing MDF, or removing old paint can release particles you should never breathe. A simple N95 mask is a step up from nothing; a P100 respirator with replaceable cartridges truly protects your lungs.
- Work gloves (tight‑fitting, cut‑resistant grip): Bulkiness sacrifices dexterity. Choose gloves with a rubberised palm for grip and a level of cut resistance suited to your tasks.
- Sturdy closed‑toe shoes: A dropped hammer or a falling 2×4 can break toes instantly. Leather work boots or solid sneakers are non‑negotiable.
The Occupational Safety and Health Administration’s (OSHA) personal protective equipment standards, while designed for workplaces, offer clear, sensible guidance equally applicable in your home workshop. Bookmark the page for a quick refresher before you start a new type of task.
Specialized Tools Worth Adding as You Grow
As your project list grows, certain jobs call for dedicated tool sets. You don’t need to buy everything at once, but knowing what lies ahead helps you plan.
- Woodworking basics: A set of four chisels (1/4″, 1/2″, 3/4″, 1″), a mallet, two bar clamps, and a pull saw for fine joinery. Focus on sharpening skills early — dull tools cause more accidents than sharp ones.
- Home electrical toolkit: A non‑contact voltage tester, insulated screwdrivers, wire strippers, and a multimeter. Never work on a live circuit, and always double‑check with the voltage tester before touching any wire.
- Plumbing essentials: A 6‑inch adjustable wrench and a 10‑inch pipe wrench, a plunger and a small drain snake, and Teflon tape. With these, you can handle leaky fixtures and slow drains without calling a plumber for every small issue.
These hobby‑specific tools only make sense once you commit to the corresponding projects. Don’t buy a pipe wrench because it “might” be useful — buy it when a dripping tap is keeping you awake.
How to Evaluate Tool Quality and Durability
When holding a tool, you can often feel quality before you ever use it.
Materials That Signal Long Life
- Chrome vanadium (Cr‑V) steel: The standard for wrenches, sockets, and screwdriver shafts. Resists corrosion and holds its shape under torque.
- High‑carbon steel: Common in cutting tools, saw blades, and chisels. Holds a sharp edge but must be kept dry to prevent rust.
- Stainless steel (e.g., 400‑series): Rust‑resistant but softer; better for clamps and rules than for high‑torque drivers.
- Glass‑filled nylon or fiberglass handles: Absorb vibration and insulate far better than hard plastic.
Build Quality Markers You Can Spot Instantly
- Weight and balance: A hammer should pivot smoothly in your hand, with the head feeling like a natural extension. A drill with a battery should not tip forward when held by the grip.
- Tolerances: Adjustable wrenches with minimal jaw wobble; screwdriver tips that seat fully in a screw head without play; a tape measure with a hook that moves exactly its own thickness to compensate for inside vs. outside measurements.
- Overmolded grips: Soft rubber over a firm core provides comfort without sacrificing control.
- Warranty length: A lifetime warranty on hand tools is common among reputable brands; limited one‑ or two‑year warranties on power tools are typical. A brand that stands behind its products often invests more in quality control.
When comparing options, well‑regarded power tool bundles aimed at newcomers typically find the sweet spot between price and longevity — they’re worth researching before you commit.
Ergonomics and Comfort: Why They Make a Difference
Even a high‑quality tool becomes a liability if it doesn’t fit your hand. Blisters, numbness, and wrist fatigue lead to sloppy work and can cut a project short.
- Handle diameter: Too thick and you can’t close your grip properly; too thin and you over‑squeeze. For screwdrivers and pliers, the handle should fill your palm without forcing your fingers apart.
- Grip texture: Rubberised, non‑slip surfaces work best in dry and light‑duty use. For wet or oily conditions, look for textured TPR or elastomer inserts. Avoid slick polished metal handles.
- Tool weight and balance: In practice, a 2.5 lb drill feels dramatically lighter after 30 minutes of overhead work than a 4 lb one. A 16 oz hammer is the sweet spot for driving 8d nails without excessive arm strain.
- Vibration control: Some power tools include counterbalance mechanisms. Hold the tool and run it briefly in‑store — if your hand buzzes uncomfortably within seconds, it’s a red flag.
- Left‑handed friendliness: Many tape measures, circular saws, and even some locking pliers assume right‑handed use. Left‑handed beginners should test tools specifically for how naturally they operate on the “wrong” side.
How to Test a Tool’s Feel Before Buying
If you visit a physical store, pick up the tool and mimic the motion you’ll perform — swing a hammer lightly, hold a drill in firing position, open and close pliers. Check if your fingers naturally reach the controls. Trust your body’s feedback: if it feels awkward in the shop, it won’t get better after an hour on a project.
Budgeting Smart: Affordable vs. Premium and Where to Splurge
A beginner’s budget should skew heavily toward safety gear and one quality drill. Many other tools can start budget‑friendly.
Where You Can Save Safely
- Hand tools (hammer, pliers, screwdrivers, tape measure): Perfectly functional house‑brand versions often last years under light use.
- Clamps and layout tools: Even inexpensive bar clamps and combination squares do their job well if you check them for squareness before purchase.
- Tool storage: A sturdy canvas tool bag or a basic plastic tote works fine; you don’t need a full rolling chest on day one.
Where You Should Splurge
- Cordless drill and battery system: This is your workhorse. Buy into a reputable battery platform because future tools will share those batteries.
- Safety gear: Clear, comfortable glasses and a well‑sealing respirator get worn. Uncomfortable gear gathers dust on a shelf.
- Precision measuring tools: A single accurate level and a reliable tape measure reduce cumulative errors across every project.
| Tool Category | Save on | Splurge on |
|---|---|---|
| Hand Tools | Basic hammer, screwdrivers, pliers | High‑end chisels, premium bit sets |
| Power Tools | Corded sander for occasional use | Cordless drill & battery platform |
| Safety | Basic foam earplugs | Anti‑fog impact glasses, respirator |
| Measuring | Standard steel rule | Digital laser measure, quality level |
When you’re ready to allocate a set amount of money, exploring value‑packed power tool bundles helps you avoid overspending while still leaving room for the essentials.
The 2026 Tool Landscape: What’s Genuinely New and Worth Noticing
Technology has evolved even at the entry level, but not every advance matters for beginners.
- Brushless motors are now standard under $100: A few years ago you’d pay a steep premium. Today, many 12V and 18V drills in the $60–$100 range come brushless, giving you longer runtime and quieter operation.
- Multi‑chemistry battery platforms: Some manufacturers now let you use the same battery across power tools, garden tools, and even portable lights — a real space‑saver.
- Smart features remain a “nice‑to‑have”: Bluetooth‑enabled tools that track usage or location are clever, but for a beginner they add cost without improving core tasks. Ignore them until you need fleet management (you won’t).
- Improved safety features: Electric brakes on grinders and saws are more common, clutch settings on drills are finer, and dust‑shroud attachments fit more tools out of the box.
Stick with proven tool platforms with broad battery compatibility. A single extra battery is worth more than any app.
Where to Buy DIY Tools in 2026
You have three overlapping paths, and most beginners blend them.
- Online: Enormous selection, user reviews with photos, and price‑comparison tools. The downside is that you can’t feel grip or weight. Trust retailers with generous return policies so you can send back a tool that doesn’t fit your hand.
- Home‑center stores: In‑person handling, knowledgeable staff (varying by store), and immediate take‑home. Use these stores to handle five different drills back‑to‑back and discover which one feels best.
- Local tool‑rental counters: Indispensable for one‑off tools like a tile saw, heavy‑duty rotary hammer, or paint sprayer. Renting a $600 tool for a weekend for $45 saves money and storage space.
Some beginners also buy quality used tools from verified marketplaces — just inspect for rust, test the trigger and chuck, and verify that replacement batteries are still available.
Tool Maintenance 101: Keep Your Tools Like New
Simple routines extend tool life dramatically and keep you safe.
- Wipe down after every use: A dry microfiber cloth removes dust and moisture. For sticky residue, a damp cloth with mild soap followed by immediate thorough drying prevents flash rust.
- Rust prevention on metal surfaces: Apply a light coat of paste wax or tool oil to exposed metal on hand planes, chisels, and saw tables. Do not oil screwdriver handles or grips.
- Sharpening cutting tools: Sharp tools require less force. Learn to hone chisels and plane irons with a simple honing guide and a combination water stone. For saw blades, many hardware stores offer sharpening services.
- Battery care for cordless tools: Store lithium‑ion batteries at 30–50 % charge in a cool, dry place — not on the charger continuously. Extreme heat kills batteries faster than heavy use. If a battery suddenly stops holding a charge, basic troubleshooting steps for a charger that appears dead often reveal a simple fix rather than a battery failure.
- Calibration check: Every few months, verify that your tape measure’s end hook moves freely and your level’s bubble is accurate (test on two opposing wall readings).
Make maintenance a five‑minute habit at the end of every project day. Small rituals — wiping down a saw, clipping the battery off the charger, giving a brad nailer a quick clean — keep you from starting the next job with compromised equipment. For circular saws in particular, consistent blade and shoe care prevents binding and kickback, two of the most common causes of scary close calls.
Common Beginner Tool Mistakes and How to Dodge Them
Learning from others’ missteps accelerates your own growth.
- Buying too many tools at once: A cluttered beginner space leads to decision paralysis. Start with the core set and add one tool per project.
- Choosing the cheapest version of everything: A $5 screwdriver that slips and rounds out a screw costs more in damaged work than a $12 set that fits tightly. Buy tools that earn their keep.
- Ignoring safety gear: A small drywall dust cloud isn’t just annoying; silica dust is a lung hazard. Put on the mask and glasses every time — no exceptions.
- Using the wrong tool for the job: Prying open a can with a wood chisel destroys the edge. Driving a chisel into a nail ruins the blade. Treat each tool as designed.
- Skipping the manual: Even experienced users occasionally overlook a torque setting or a battery storage warning. A five‑minute read saves a future breakdown.
- Neglecting to secure the workpiece: Cutting a board balanced on one knee is asking for a visit to the ER. Always use clamps or a vise.
- Failing to learn proper technique: A drill in hammer‑mode feels powerful, but applying too much pressure burns out bits and motors. Let the tool do the work.
Building Your First Starter Toolkit: A Step-by-Step Checklist
Use this checklist as a shopping guide. Cross off what you already own, and acquire the rest in order of project need.
- ✅ 16 oz claw hammer
- ✅ 6‑piece screwdriver set (at least PH1, PH2, 1/4″ flathead)
- ✅ 8‑inch adjustable wrench
- ✅ 10‑inch groove‑joint pliers
- ✅ 25 ft tape measure, 1‑inch blade
- ✅ Utility knife with snap‑off blades
- ✅ 9‑inch torpedo level
- ✅ Combination square
- ✅ Safety glasses (ANSI Z87.1)
- ✅ Cut‑resistant work gloves
- ✅ Dust mask or P100 respirator
- ✅ Hearing protection earmuffs
- ✅ 12V or 18V brushless cordless drill/driver kit with two batteries
- ✅ Drill bit set (assorted twist bits, brad‑point bits for wood)
- ✅ Driver bit set with magnetic bit holder
- ✅ Two 12‑inch bar clamps
- ✅ Sturdy tool bag or tote
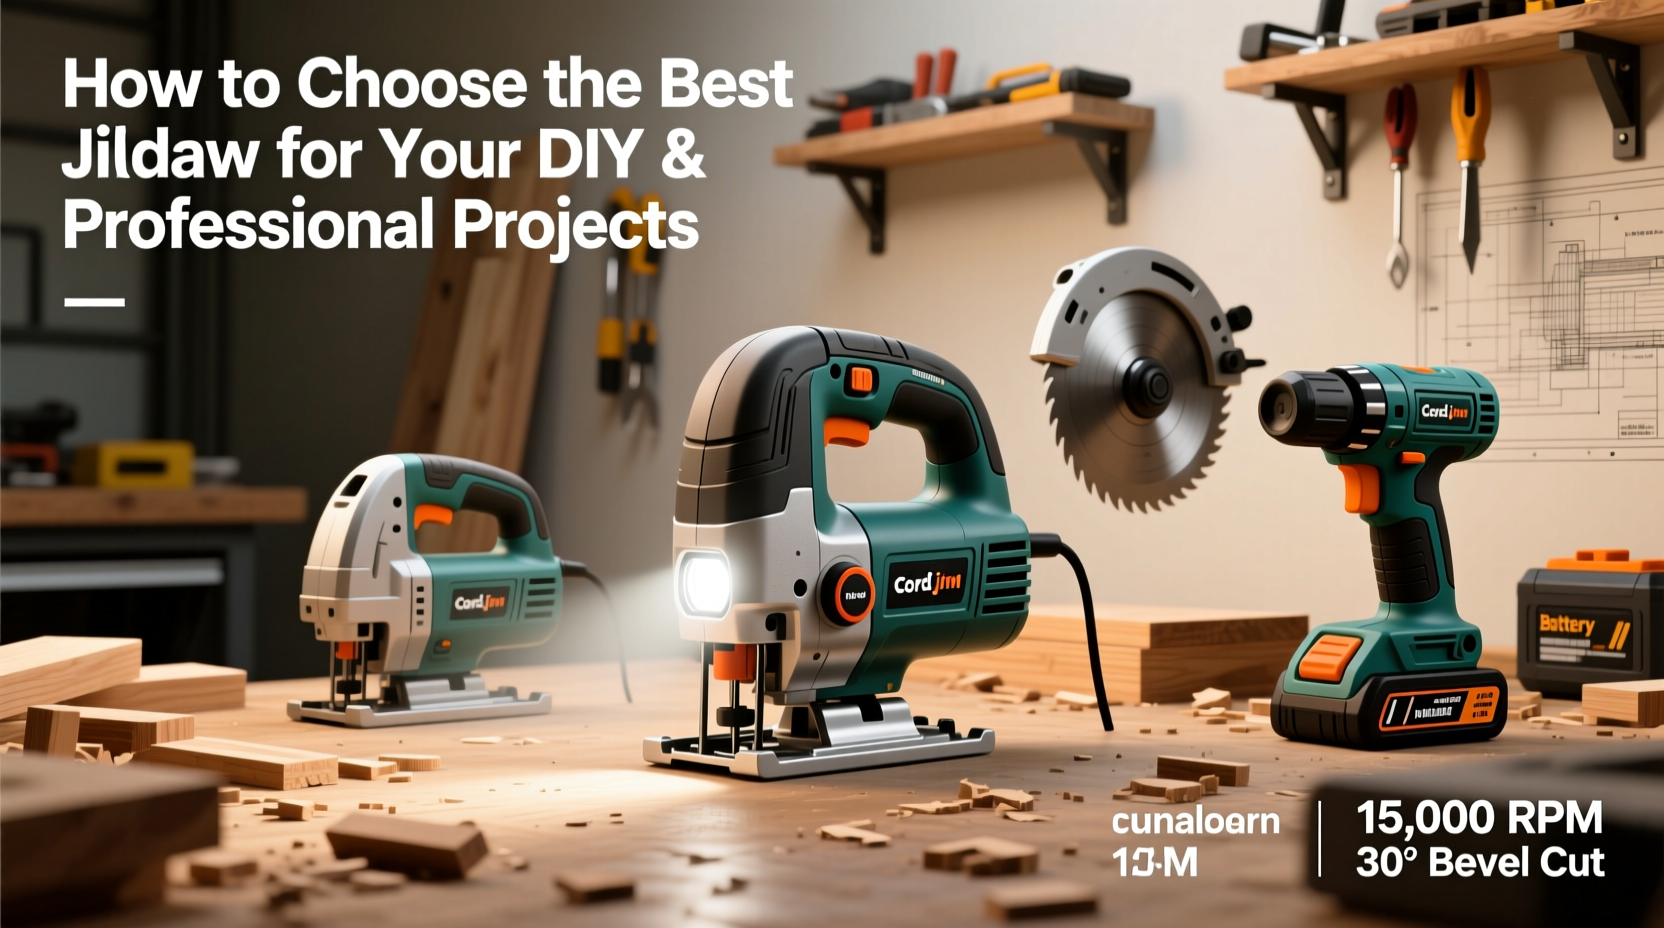
Starter kits bundle core tools and often represent the best value when you’re building your first collection.
Credit: smartbuy.alibaba.com
For a first‑time purchase that covers most household tasks, a well‑rounded drill model designed specifically for home environments ties your whole toolkit together and will likely remain your most‑used tool for years.
Frequently Asked Questions
How do I know which tools I really need first?
Write down the three projects you want to finish soon. List the tools each project requires; the ones that appear on multiple lists are your starting lineup. Almost always, a cordless drill, a hammer, a screwdriver set, a tape measure, and safety glasses top that list.
Should I buy a kit with many tools or pick individual pieces?
Kits offer convenience and lower per‑tool cost, but only if every tool in the box matches your projects. Avoid mega‑kits that include tools you won’t touch for years. A compact kit containing a drill, two batteries, a charger, and a few bits is a solid launch pad.
Is it safe to buy secondhand power tools as a beginner?
Yes, if you inspect carefully. Look for corrosion on battery contacts, a chuck that tightens smoothly, and a body free of cracks. Research whether replacement batteries are still sold for that model — an old tool with discontinued batteries is a paperweight.
What’s the biggest mistake beginners make with power tools?
Neglecting to read the manual and skipping safety gear. Many newcomers also push a drill too hard, thinking pressure speeds the job. Let the bit and the motor set the pace — excessive force burns bits, shortens motor life, and leads to ugly work.
How often should I sharpen my hand tools?
Chisels and plane irons may need a quick hone after every few hours of use. Utility knife blades are disposable; snap off a fresh segment as soon as cutting becomes difficult. Handsaw sharpening is a specialised task — consider a professional sharpening service once a year rather than attempting it yourself.
Conclusion: Your DIY Journey Starts With a Single Project
Choosing the best DIY tools as a beginner isn’t about chasing the most powerful gear or stocking a full garage wall. It’s about matching simple, dependable tools to real projects, protecting yourself every step of the way, and building skills one job at a time. Start with the essentials, invest in a quality drill and safety gear, and let each completed project guide your next tool purchase.
The right first step is often the simplest: pick a project you genuinely want to finish, gather the few tools it demands, and give yourself permission to learn by doing. Before long, that starter toolkit will feel like an extension of your own hands — and you’ll wonder why you waited.

Michael Harris is an experienced woodworker and power tool expert with over 12 years in woodworking. Specializing in functional, high-quality furniture, he offers expert advice on tool selection, maintenance, and sharpening for both beginners and professionals.